![]()
|
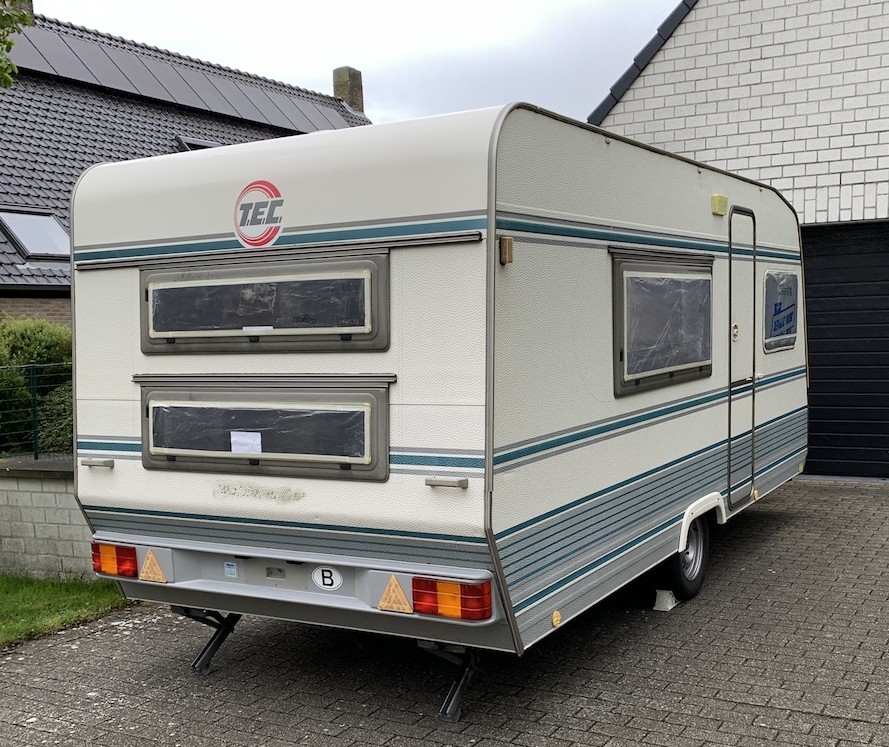
I possess a T.E.C. Weltbummler 495 TSK caravan since 1999. I bought it second hand primarily for attending R/C jet and/or R/C scale contests. It was built in 1991. The first outing was to the 1999 Jet World Masters in Zeltweg, Austria. We had never traveled with a caravan, let alone built up the awning and when we arrived at the campsite, we had a hard time setting up everything in the pouring rain. Luckily, some fellow modelers gave us a hand.
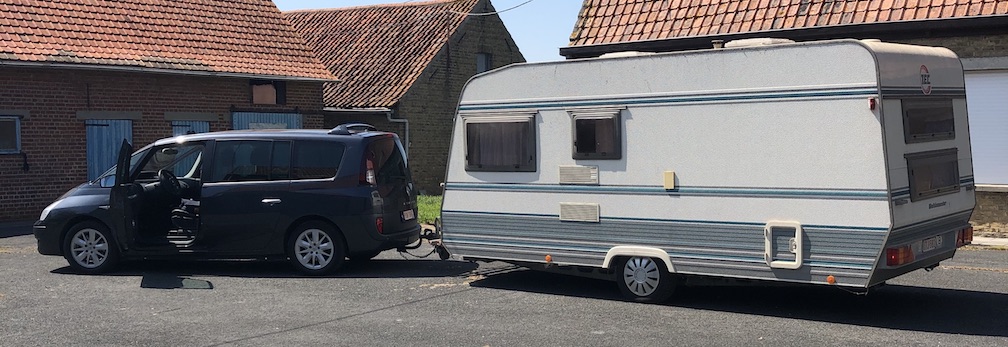
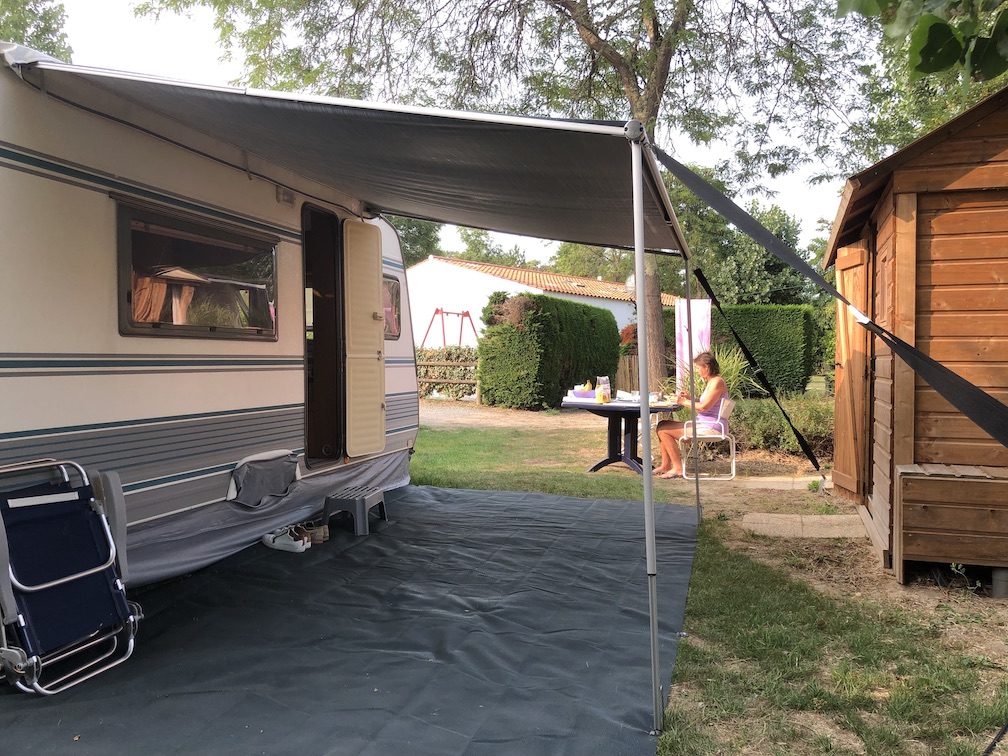
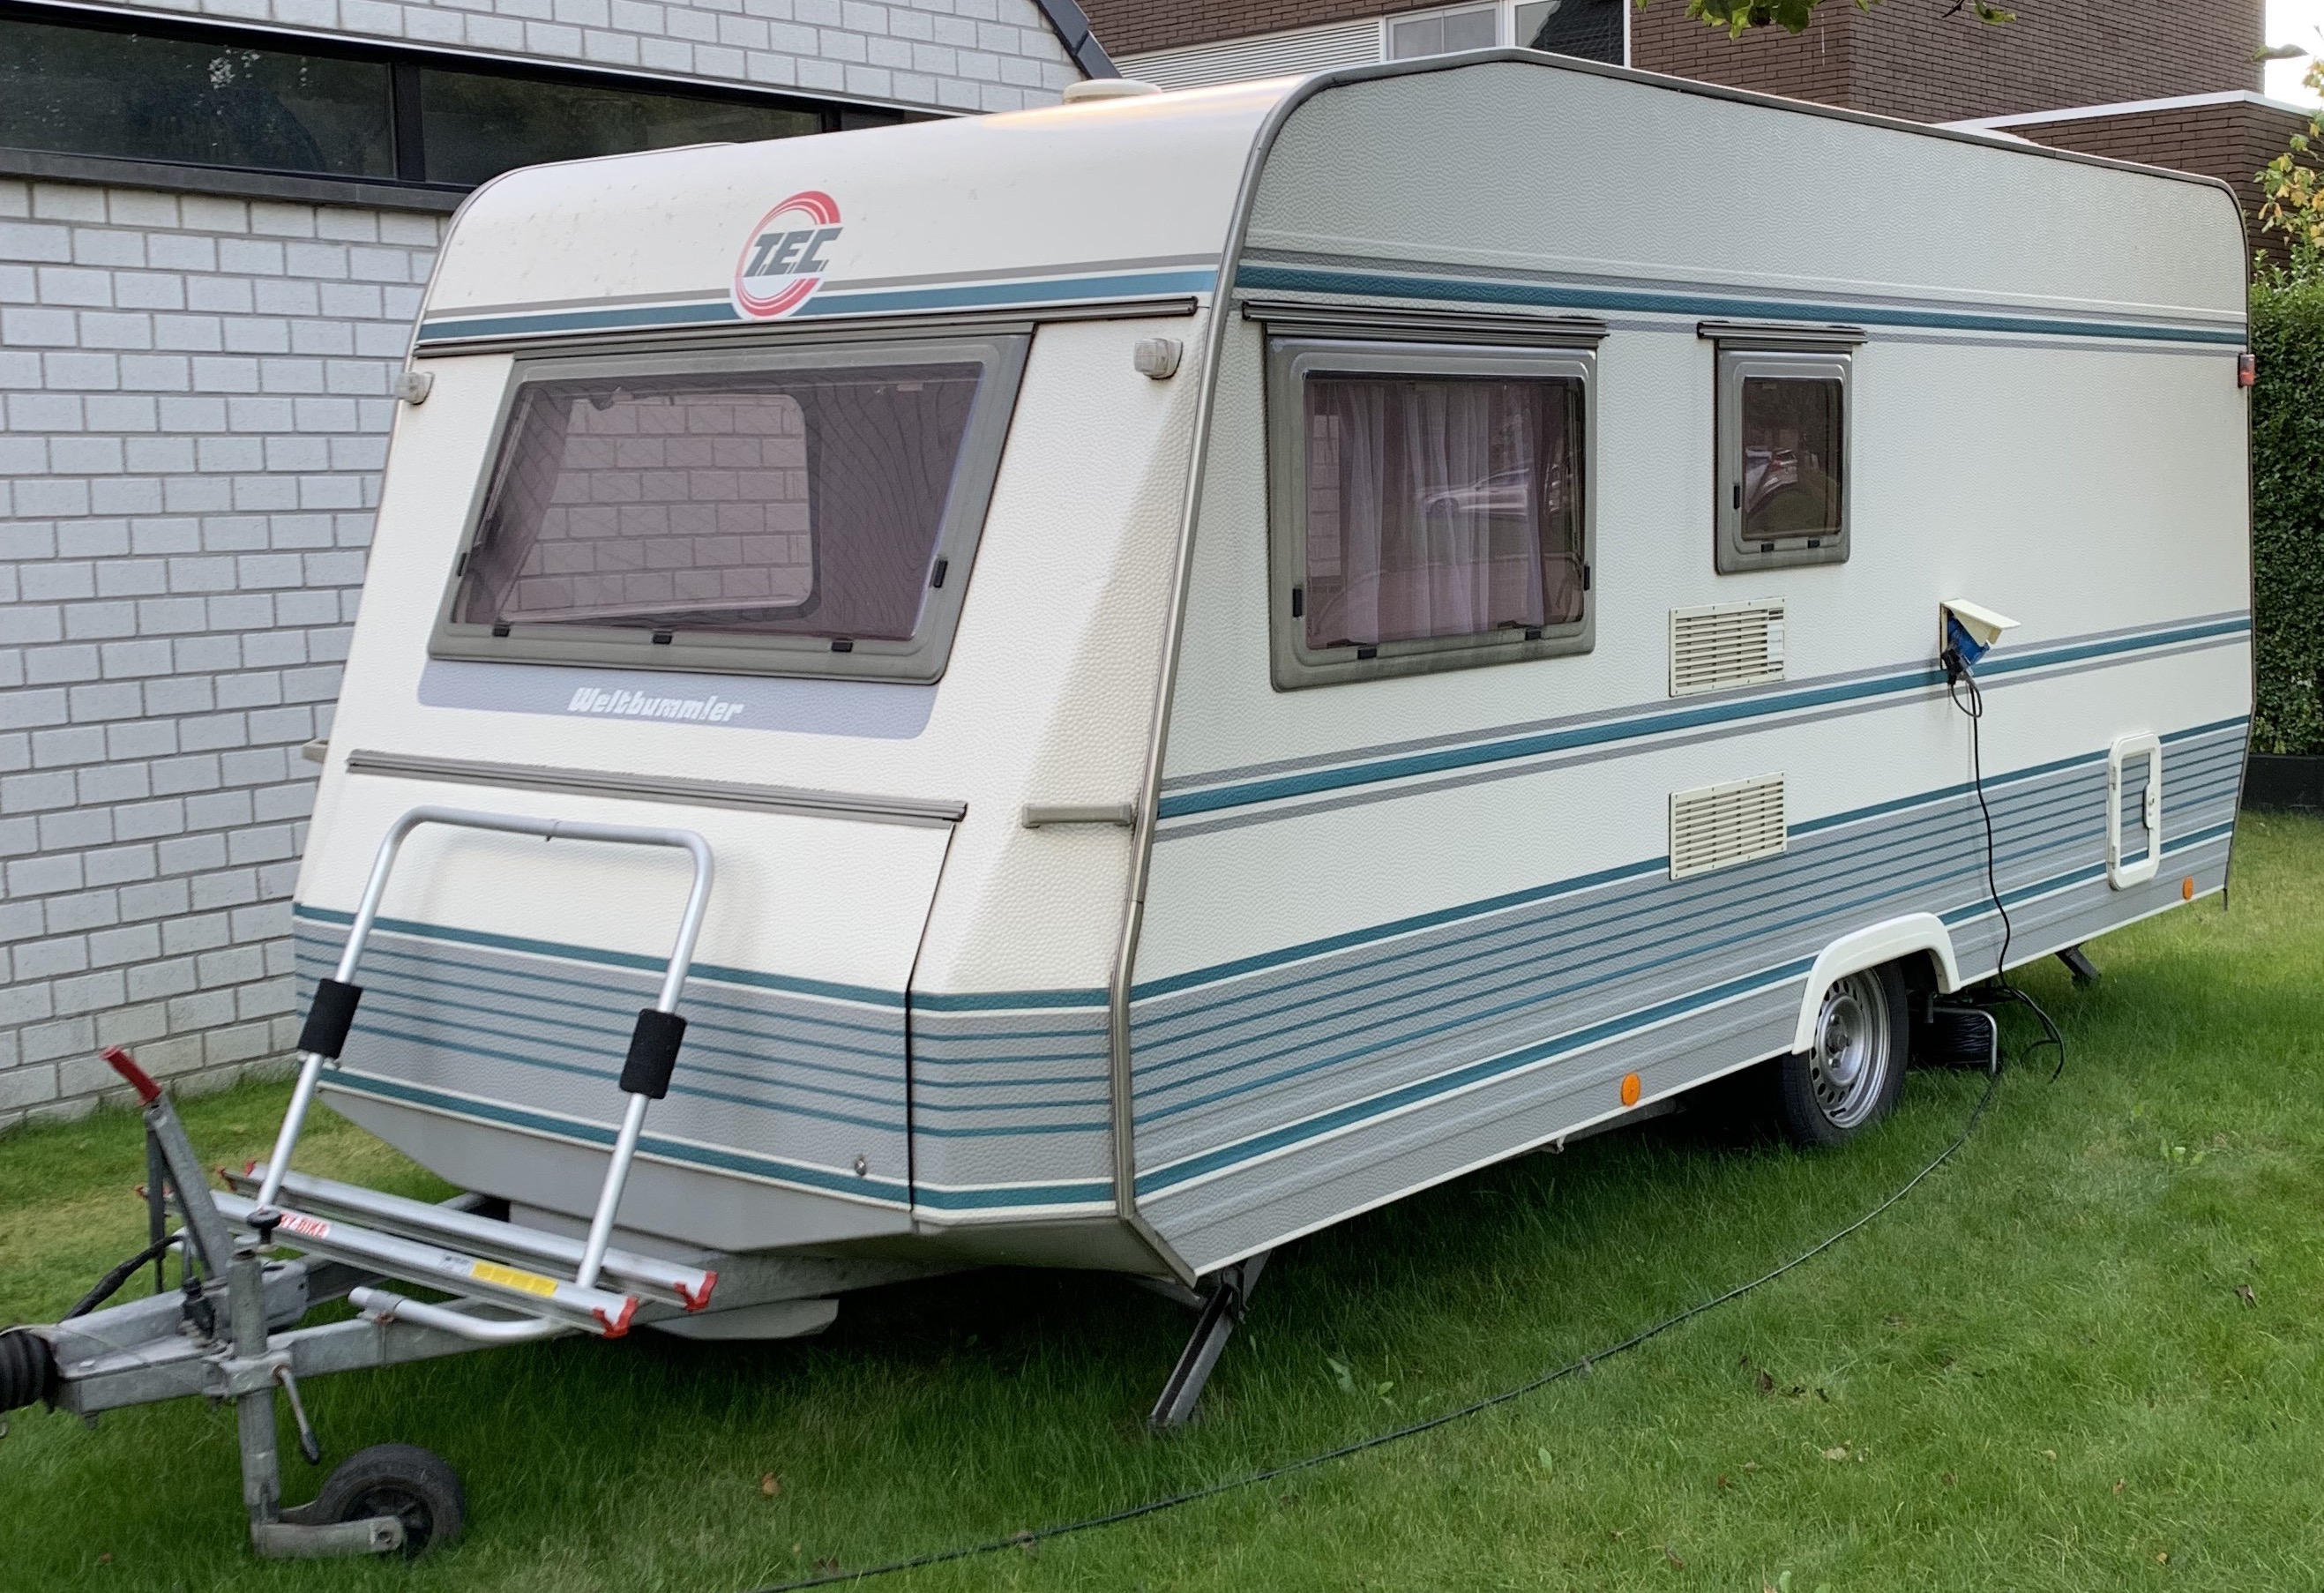
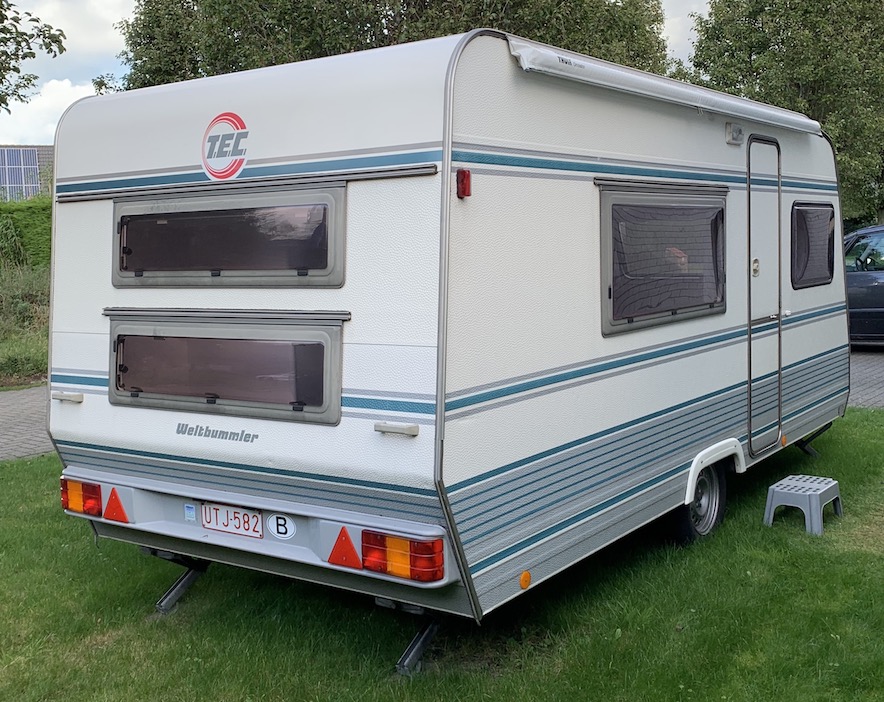
T.E.C. Weltbummler caravan behind my Renault Grand Espace IV In the subsequent years, we traveled a lot with the caravan to go on holidays, besides the contests. After our son moved out of the house, we used the caravan solely for the contests. The last one we attended was the Jet World Masters 2015 in Leutkirch, Germany. Since then, the caravan was sitting idle until early this year, we decided to take her out again and join some friends for a short biking holiday. We enjoyed it so much that we decided to organise our main summer holidays around the caravan and biking. To make it easier for us, we substituted a simple canopy (Thule Omnistor 1200) for the heavy and cumbersome poled awning. A big improvement!
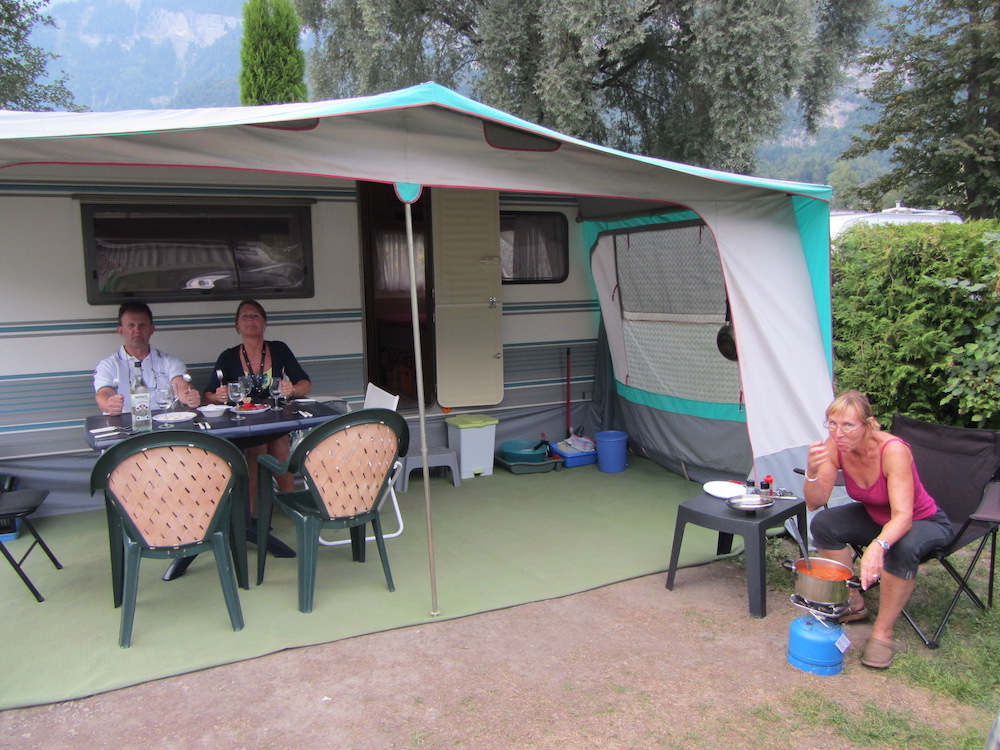
with the old poled awning here at the 2013 Jet World Masters in Switzerland...
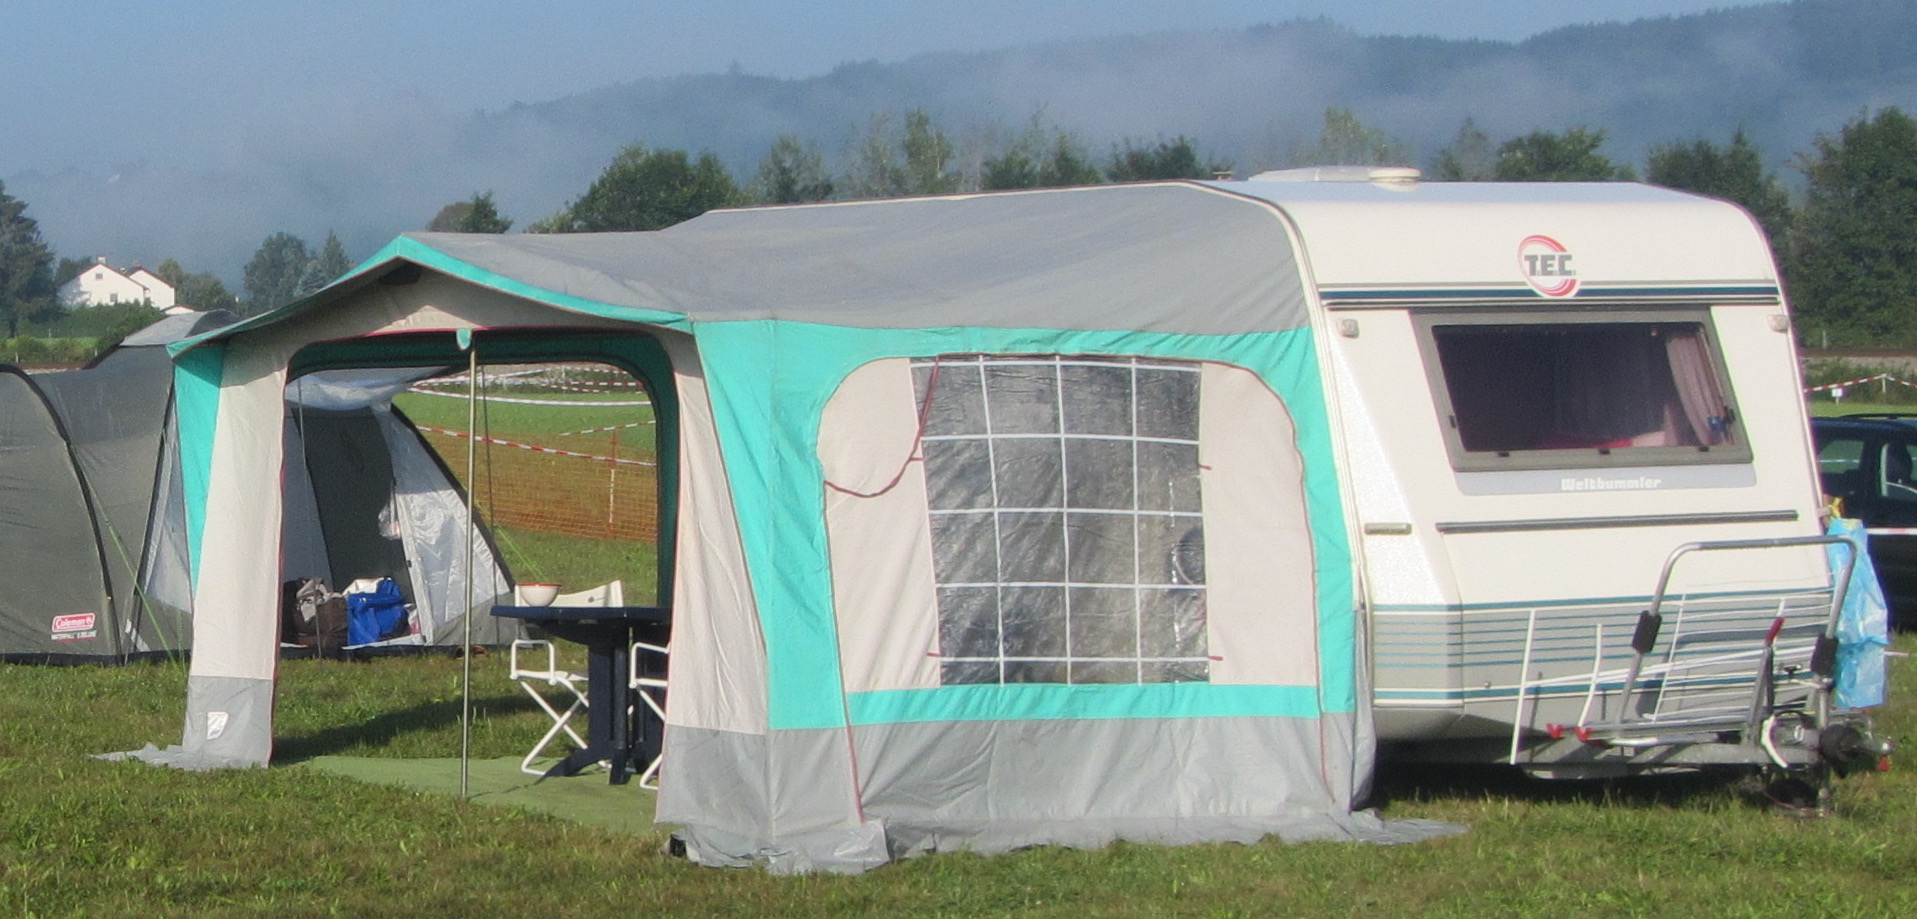
... and at the 2015 Jet World Masters in Germany...
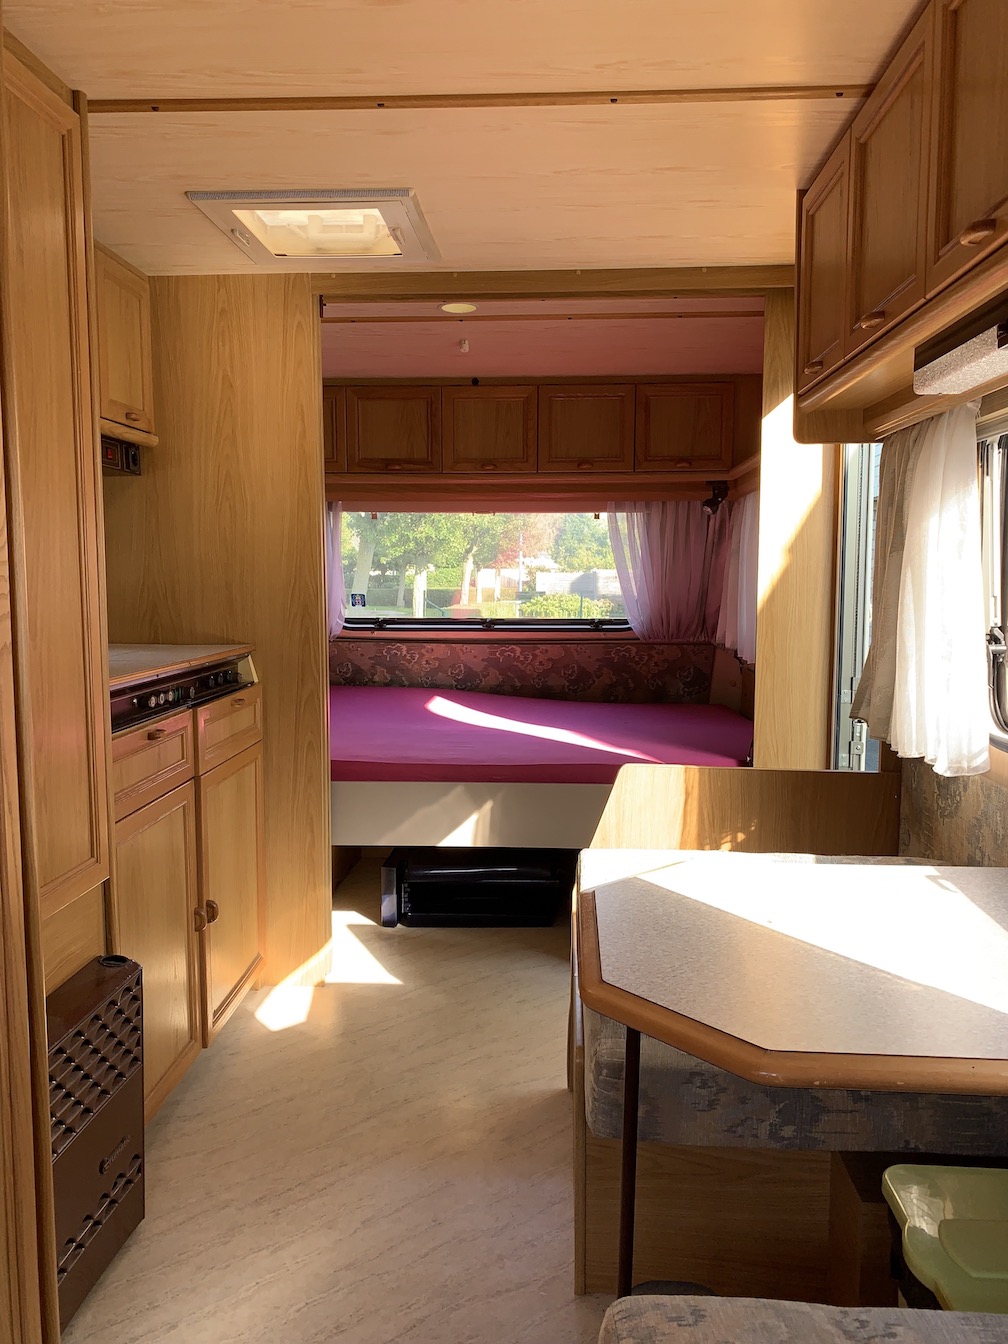
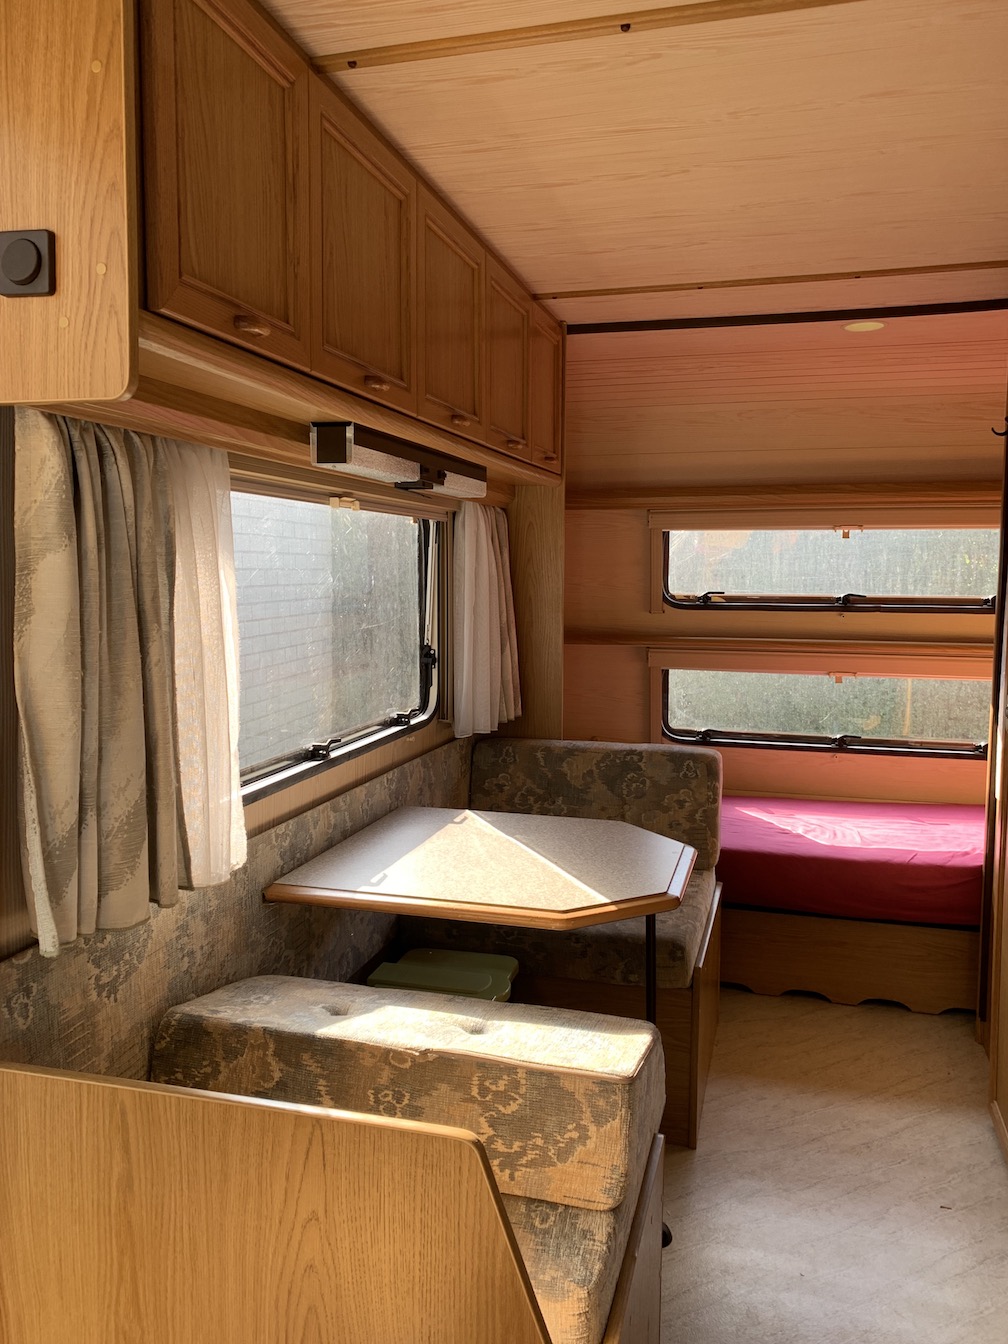
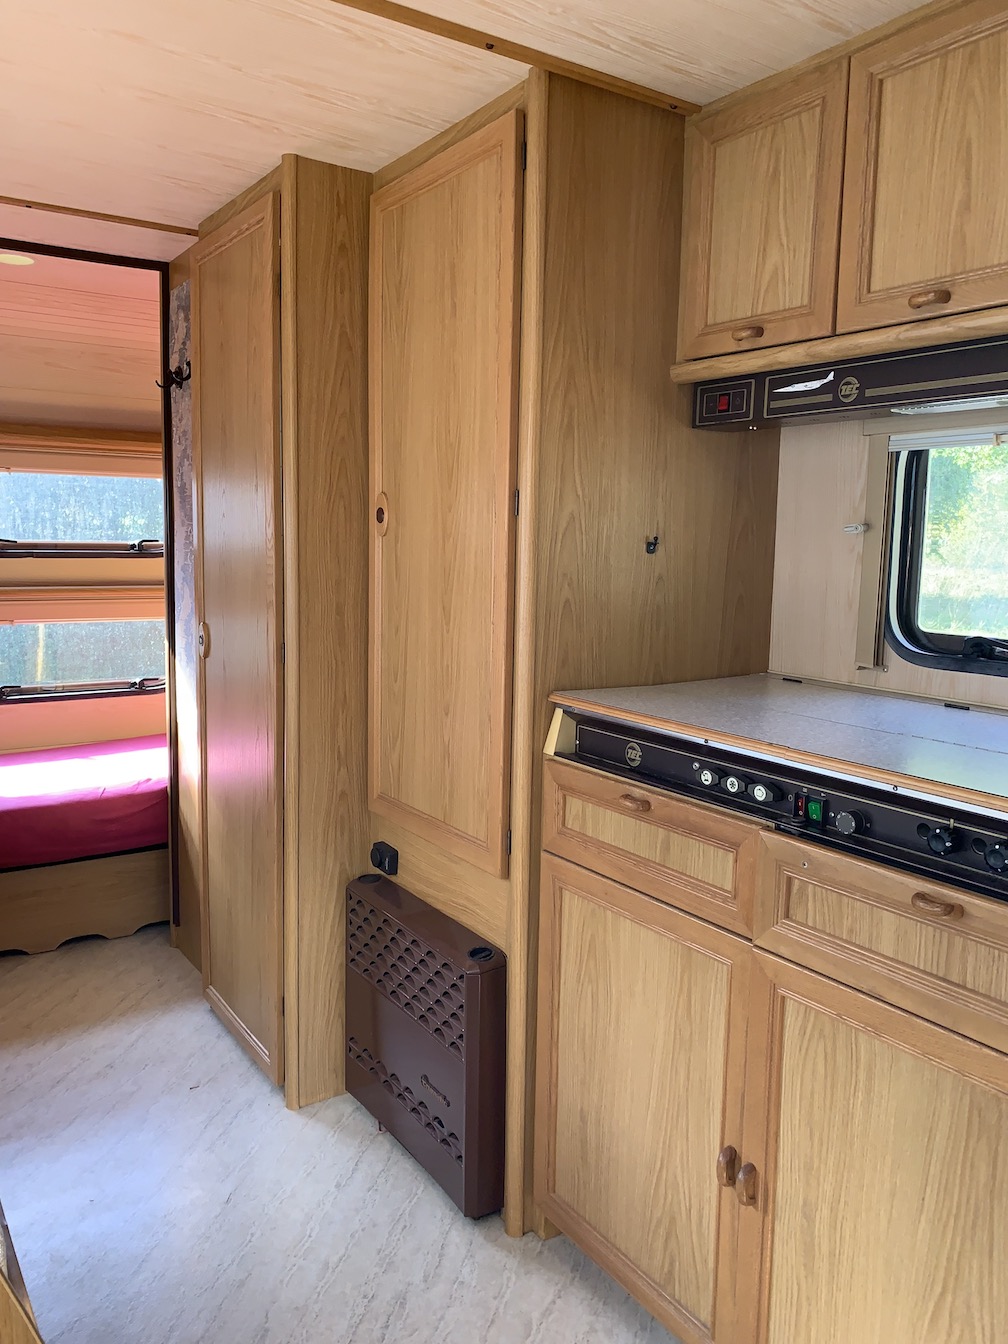
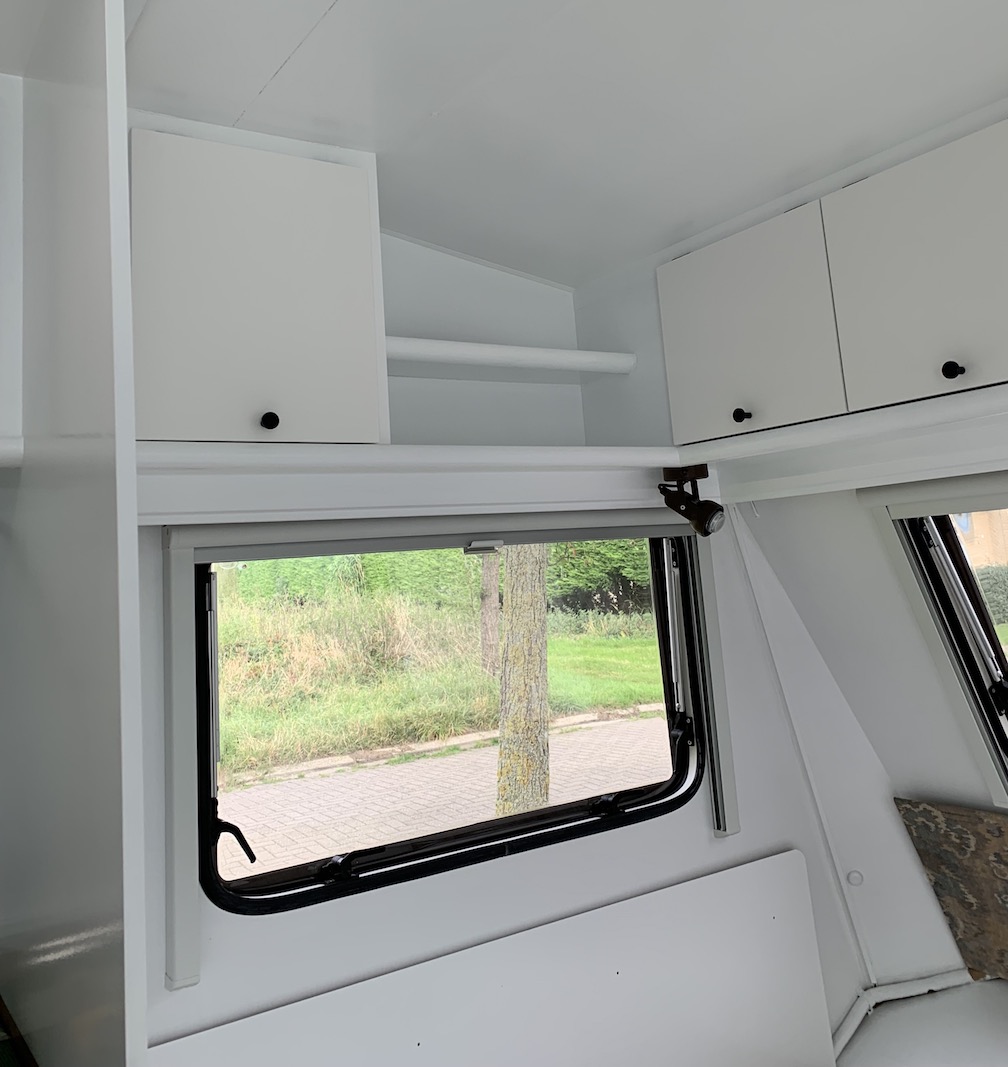
...and later with the new canopy in 2023 on holidays in France During those holidays, we were contemplating giving the caravan a make over, but I was hesitant at first because of the magnitude of the task. Early October however, I did find the motivation to start the make over. I describe the job here below, illustrated with some photographs. At the time of writing, the job inside is 100% complete, but I’m still contemplating to do the outside as well. If it happens, it will be after the winter.I didn’t like the quite dark old fashioned interior with lots of brown and rural style cabinets. It was decided to redo the interior in white with new smooth cabinet doors and some indirect lighting. It promised to look a lot fresher!
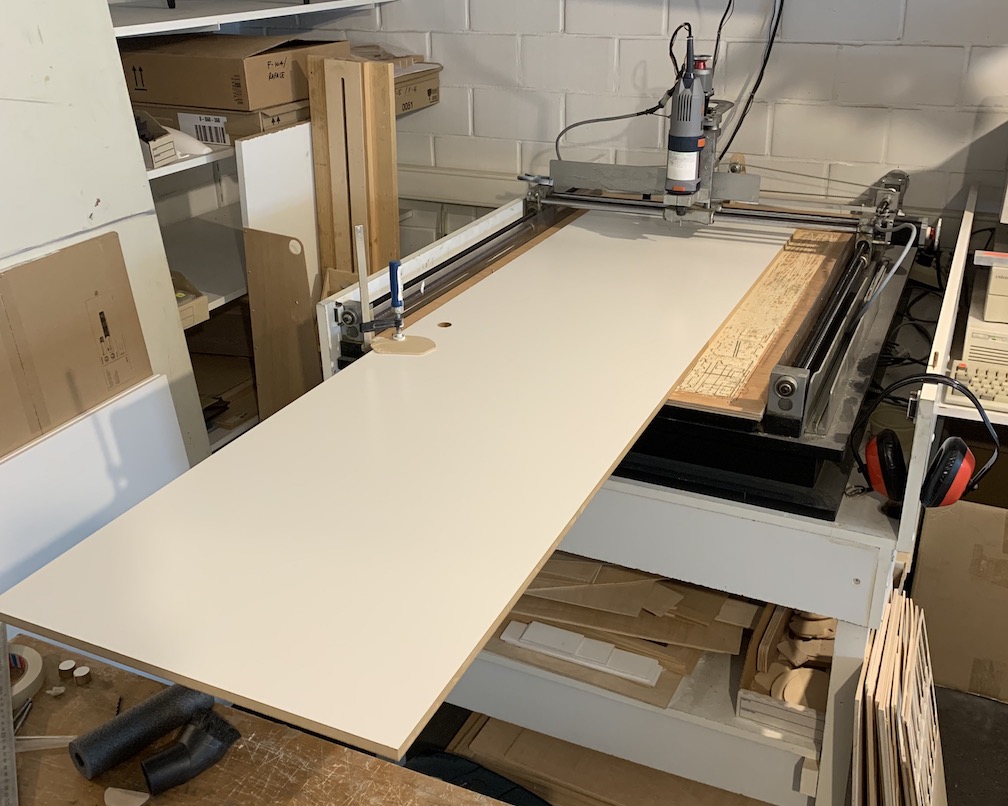
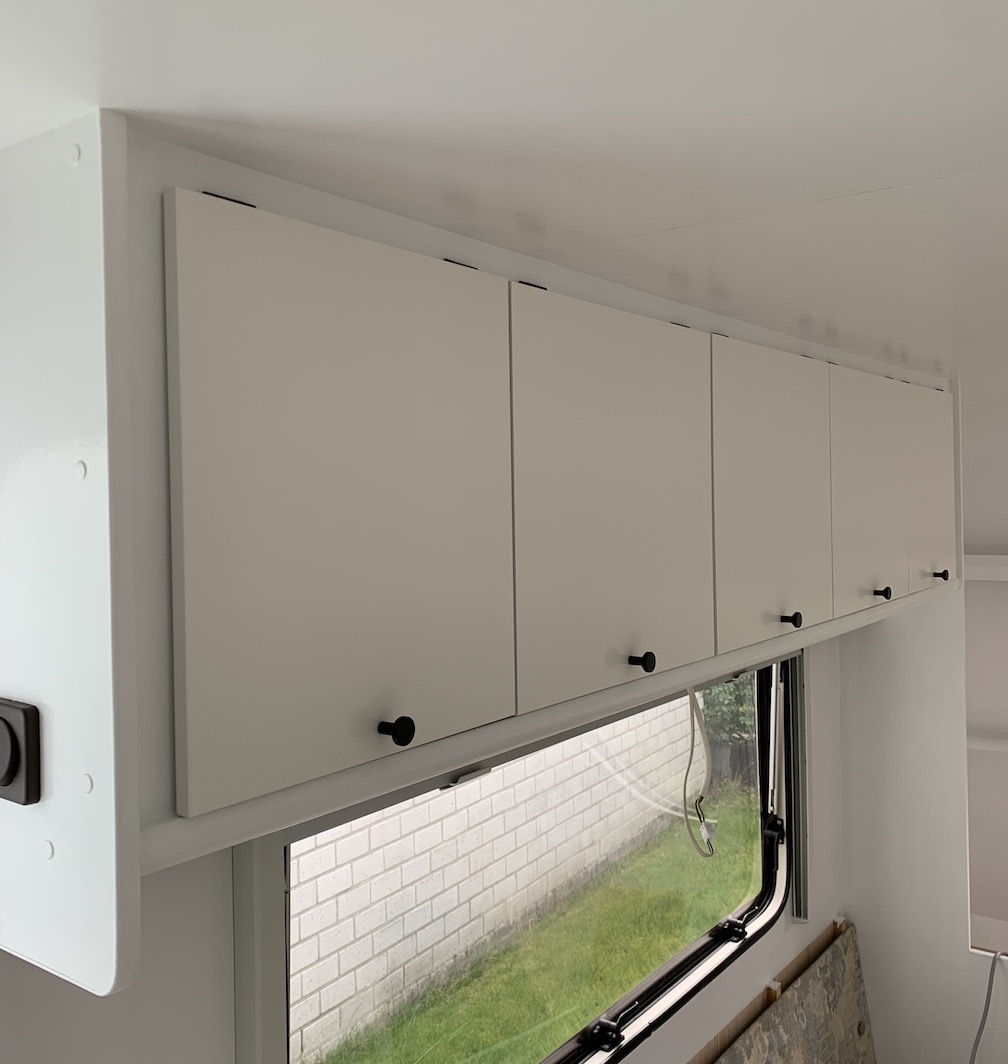
old fashioned interior dominantly brown I measured and numbered each door and drew up the plans on the computer to cut new doors. I discovered that IKEA had some nice material to cut the doors from: the FÖRBÄTTRA cover panels (used in kitchens). Using my computer controlled router, it would be easy to duplicate the cabinet doors.
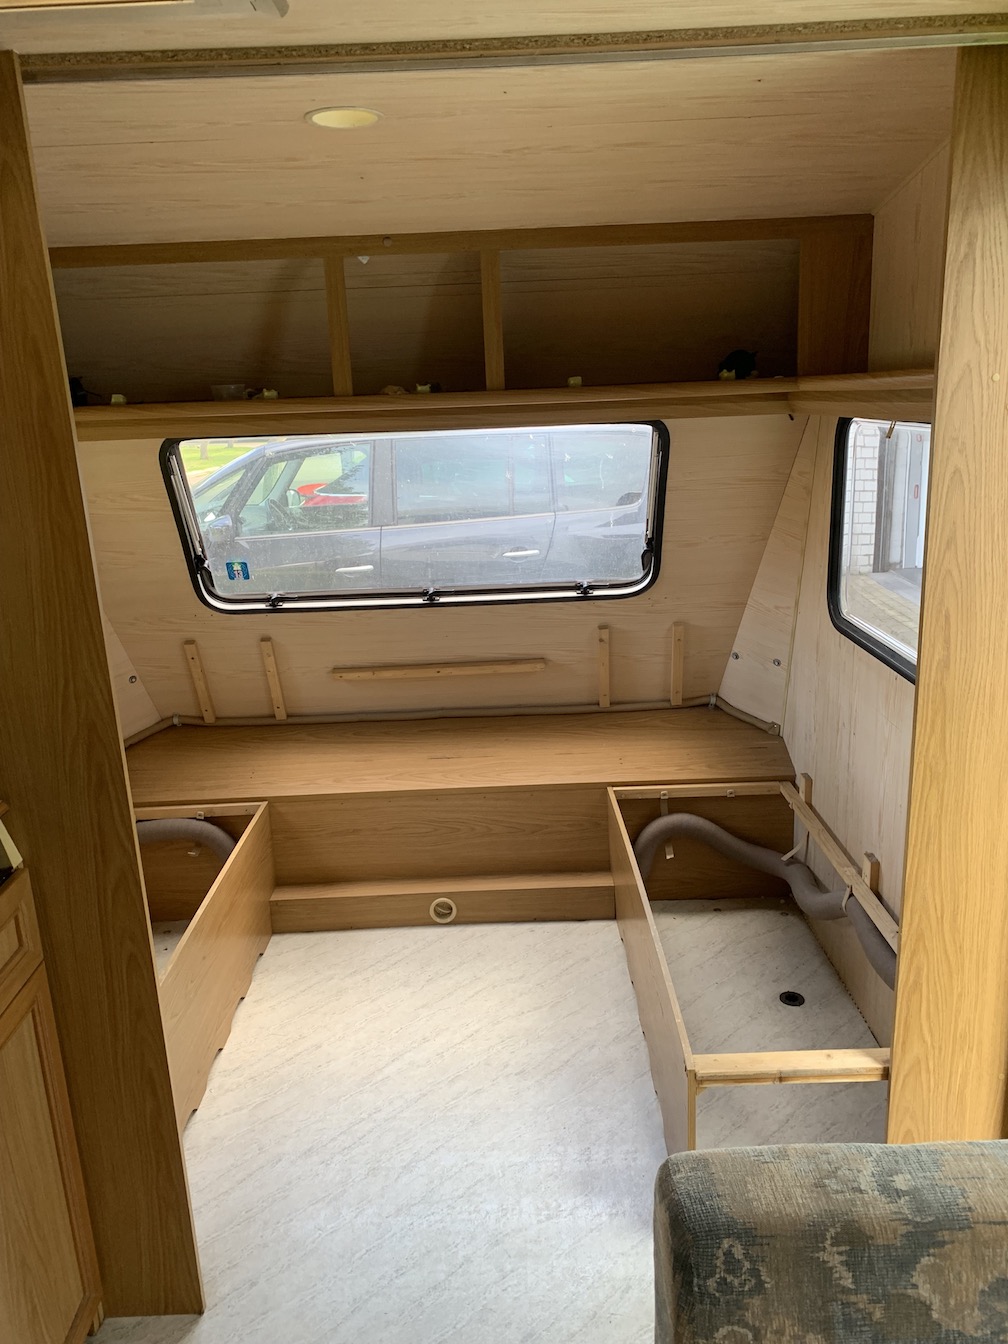
old cabinet door But first, I had to strip the interior of the caravan. I removed the beds and all the cabinet doors.
interior stripped
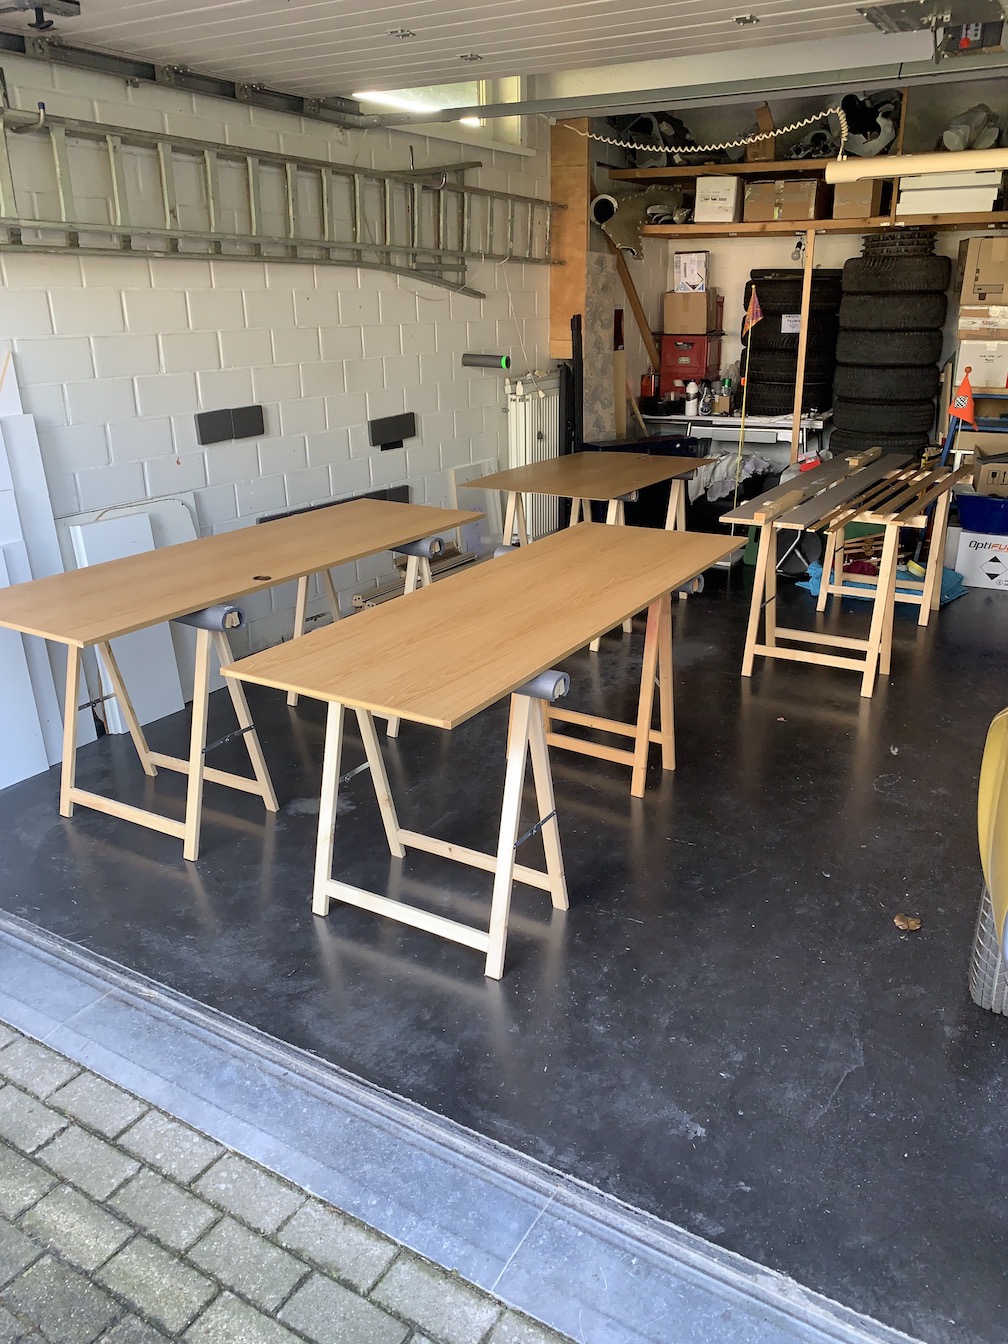
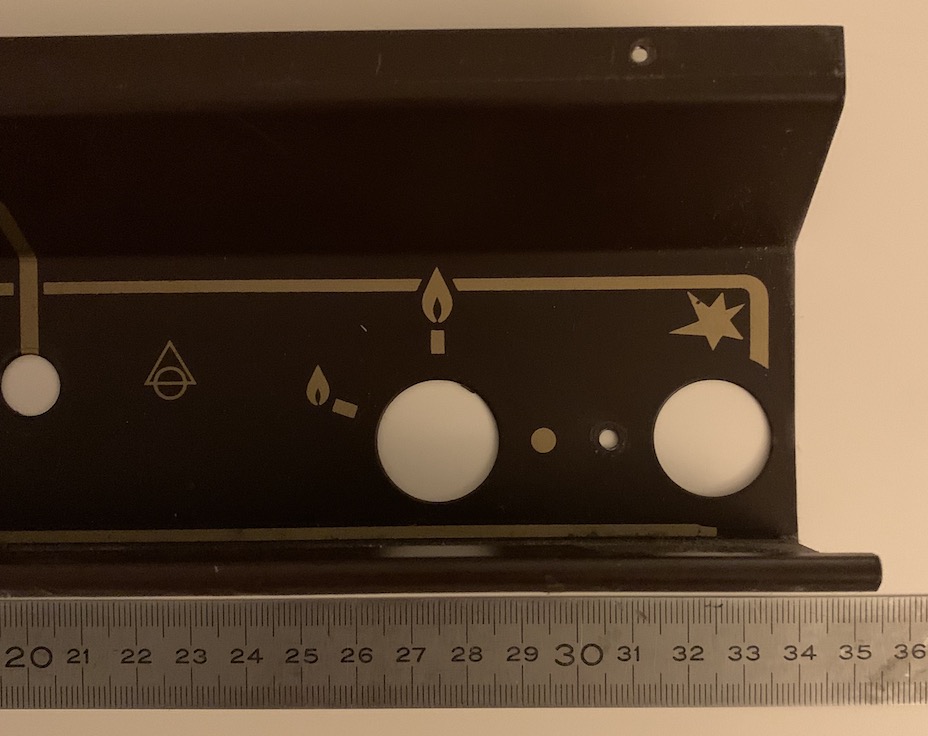
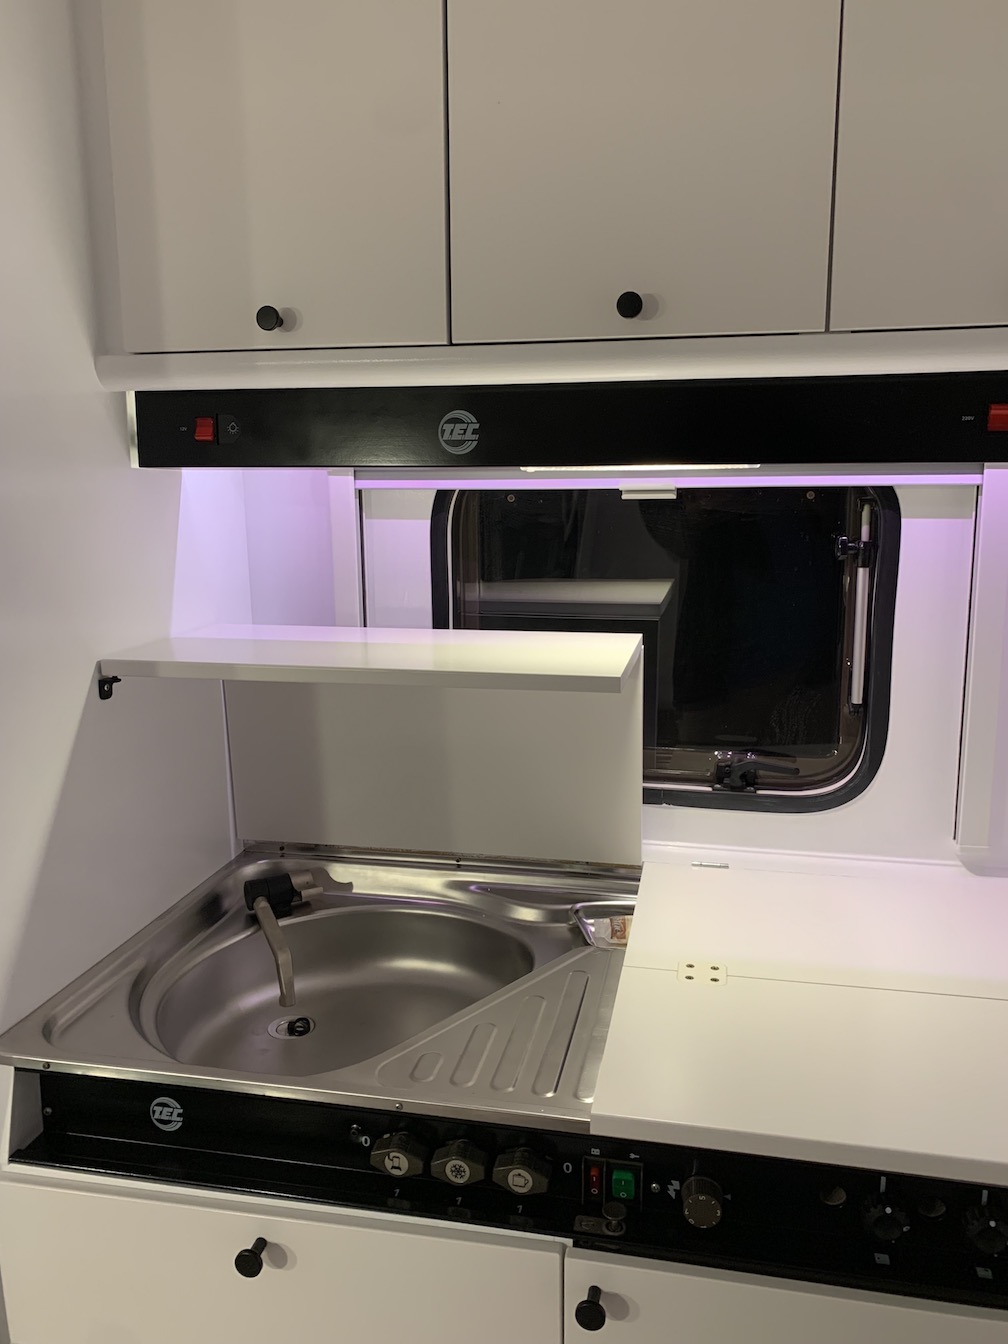
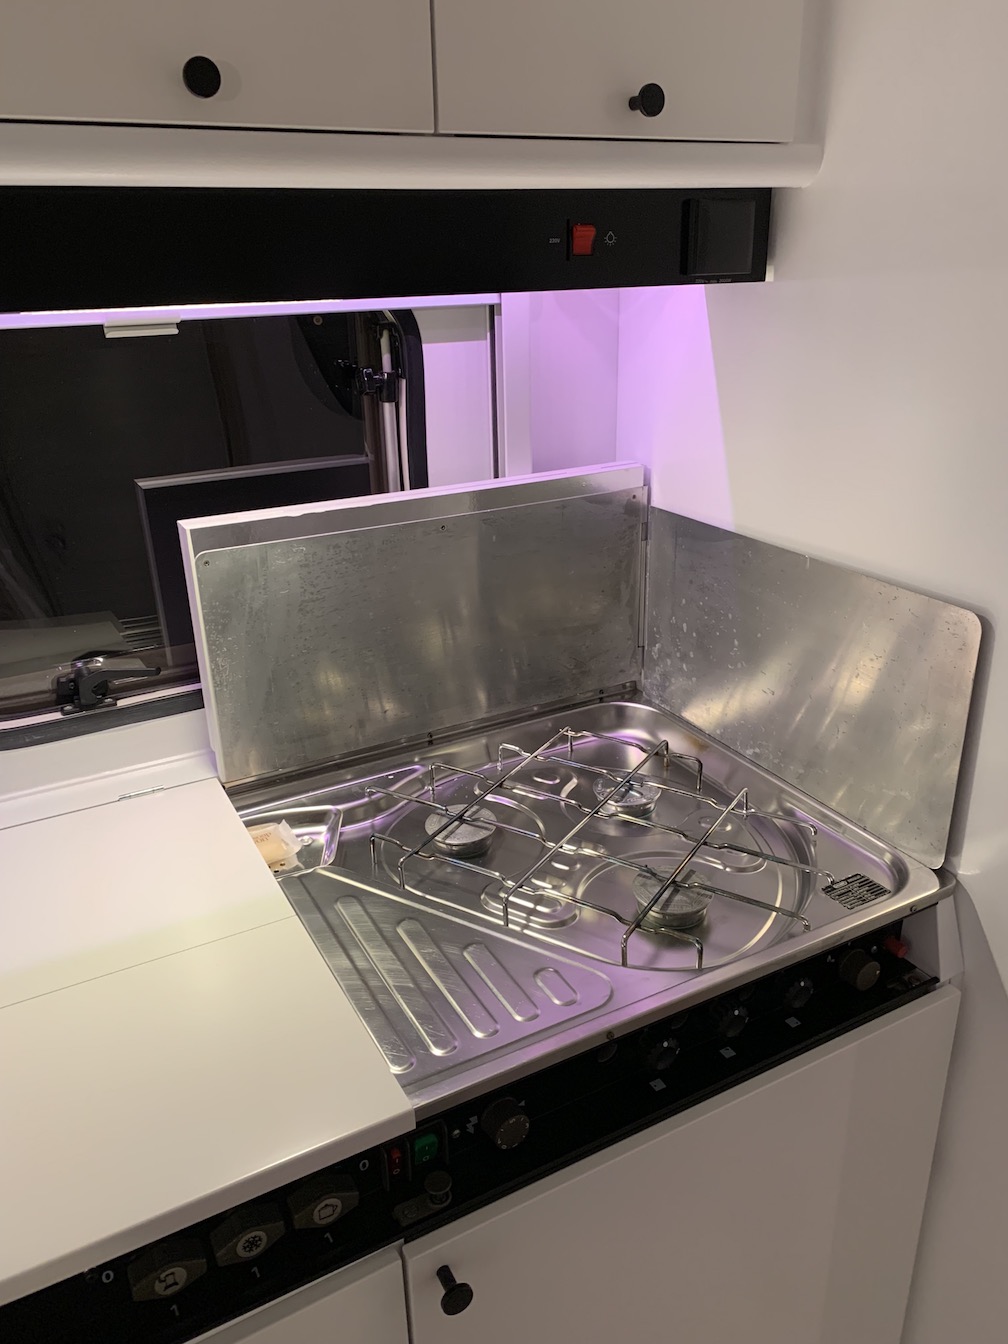
removable parts ready to be painted in the garage I also wanted to repaint the control panels for the fridge and the gas fire and the one for the overhead kitchen lighting. These were in dark brown with golden lettering and I wanted to repaint the m in black with white lettering.
old fashioned control panels For this, I also had to remove the kitchen sink and that was probably the hardest job. I damaged one of the gas burners in the process but luckily found a replacement in a German online shop (Weippert). By the way, I replaced a lot of old parts with brand new parts bought from different online shops specialized in caravanning, mostly from The Netherlands (Obelink, De Wit Schijndel and Kampeerwereld). Some hardware was also bought from our local shop: Decuyper in Poperinge.
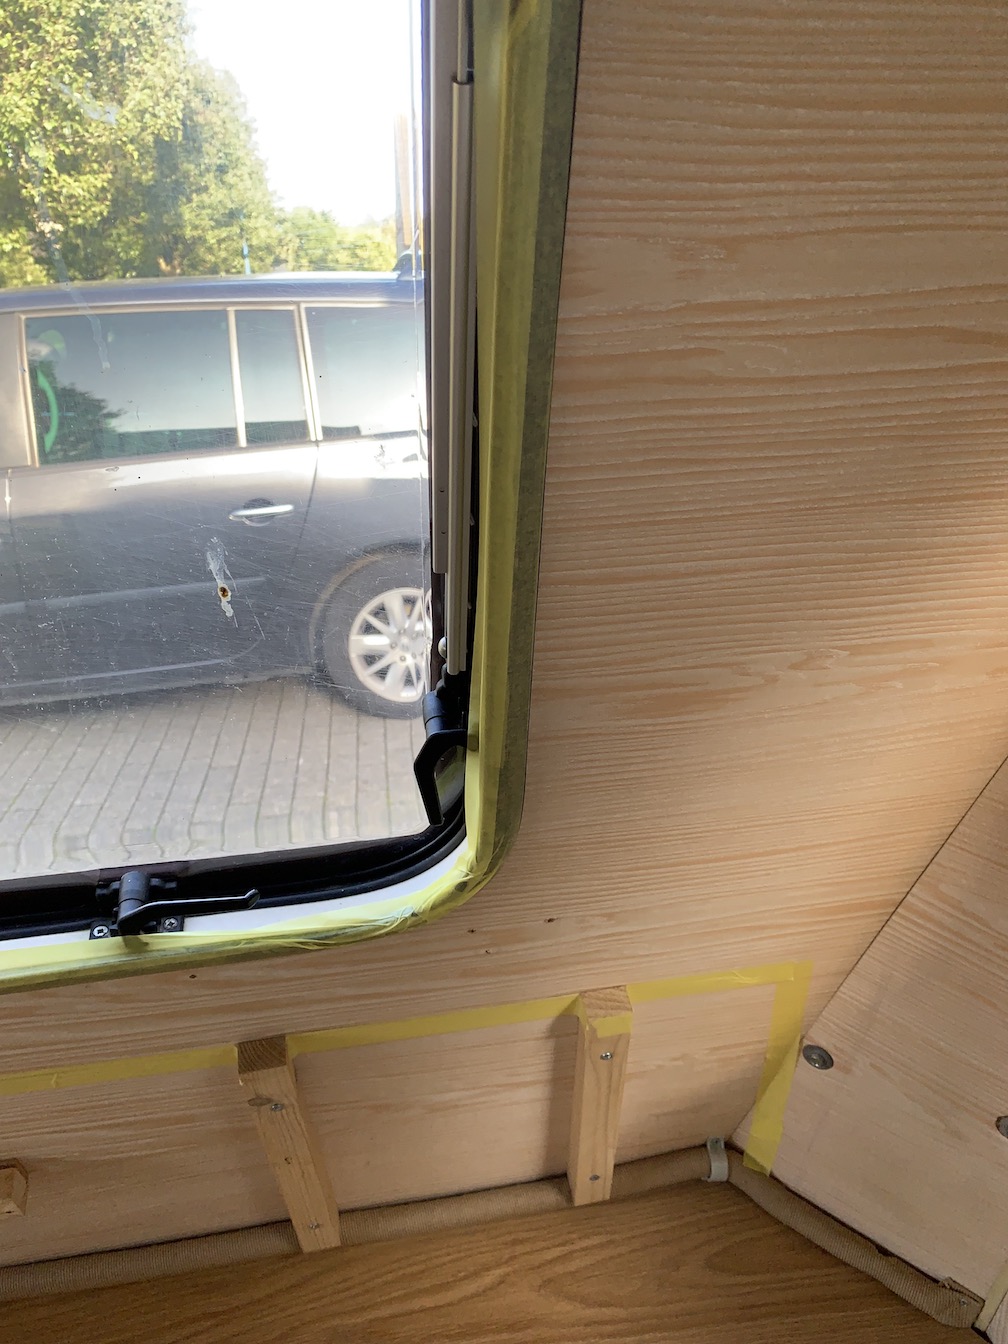
preparation of the control panel for paint (some filler was required) After the necessary bits and pieces were removed, I degreased and washed the interior thoroughly. I masked all the windows and everything else that had to remain unpainted with masking tape.
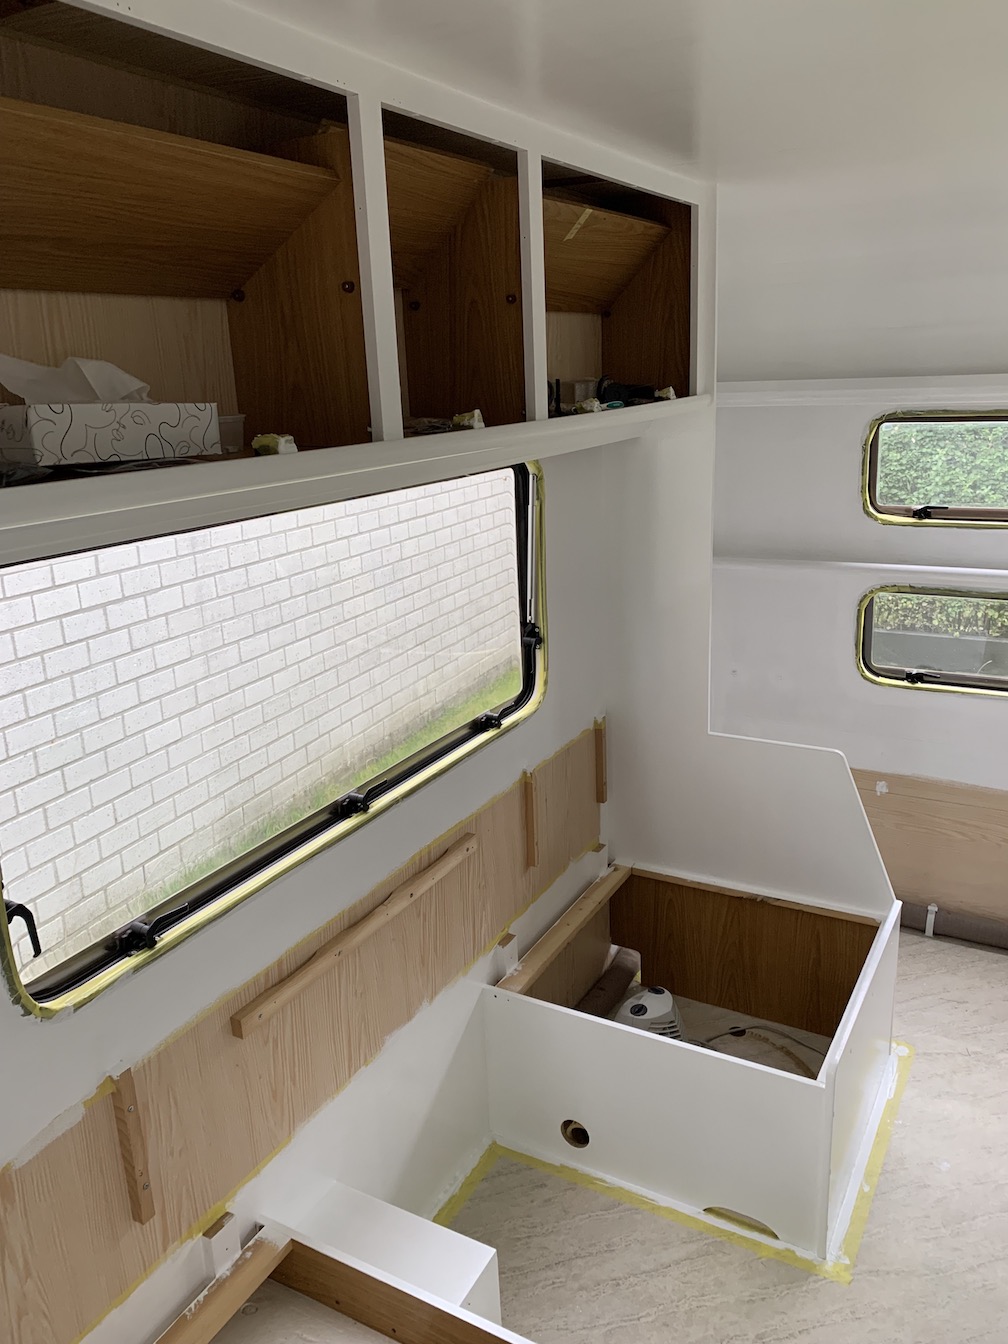
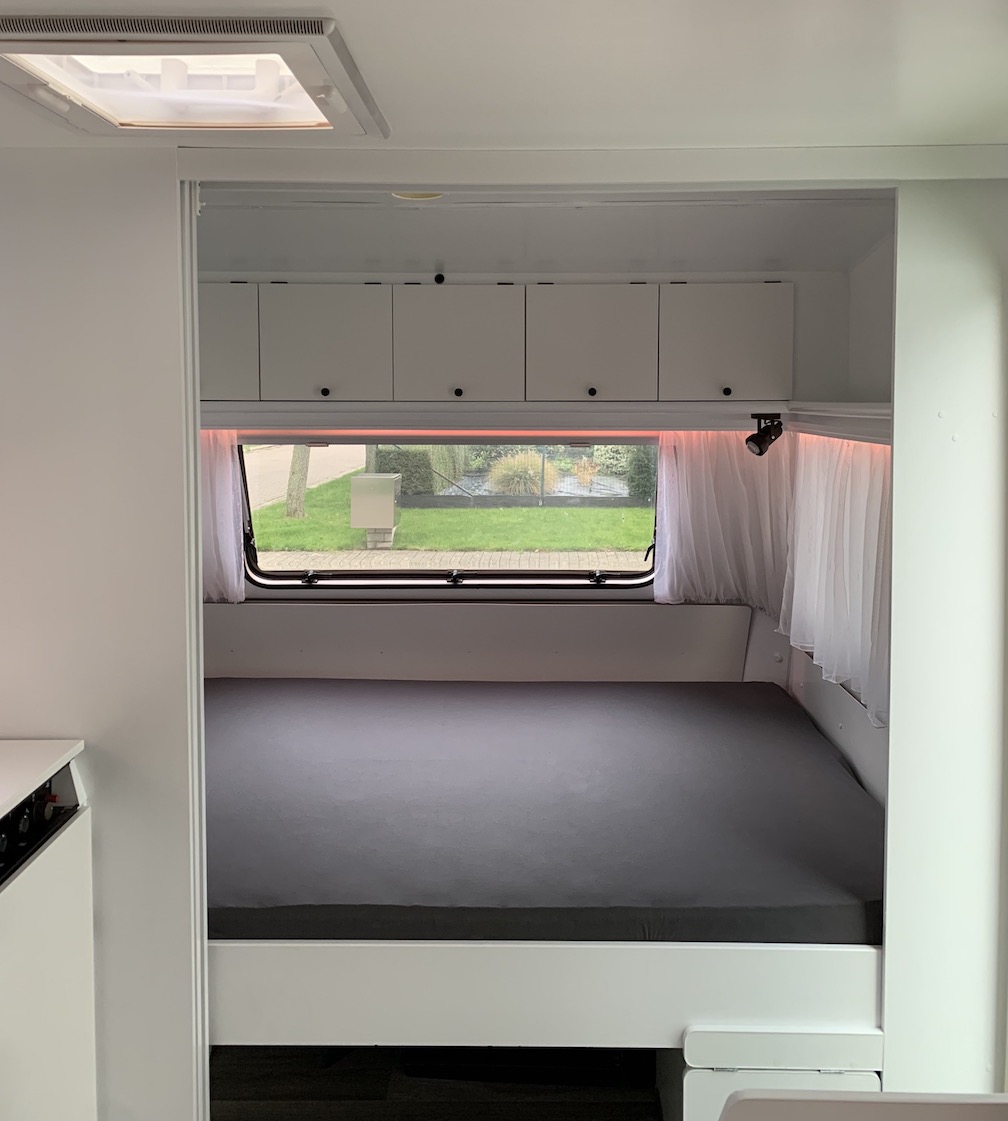
windows masked I used a renovation paint for kitchens (V33) to repaint the complete interior white. I didn’t do the inside of the cabinets as this remains unseen (unless you open the door). It was immediately clear that the interior would be a lot brighter than before.
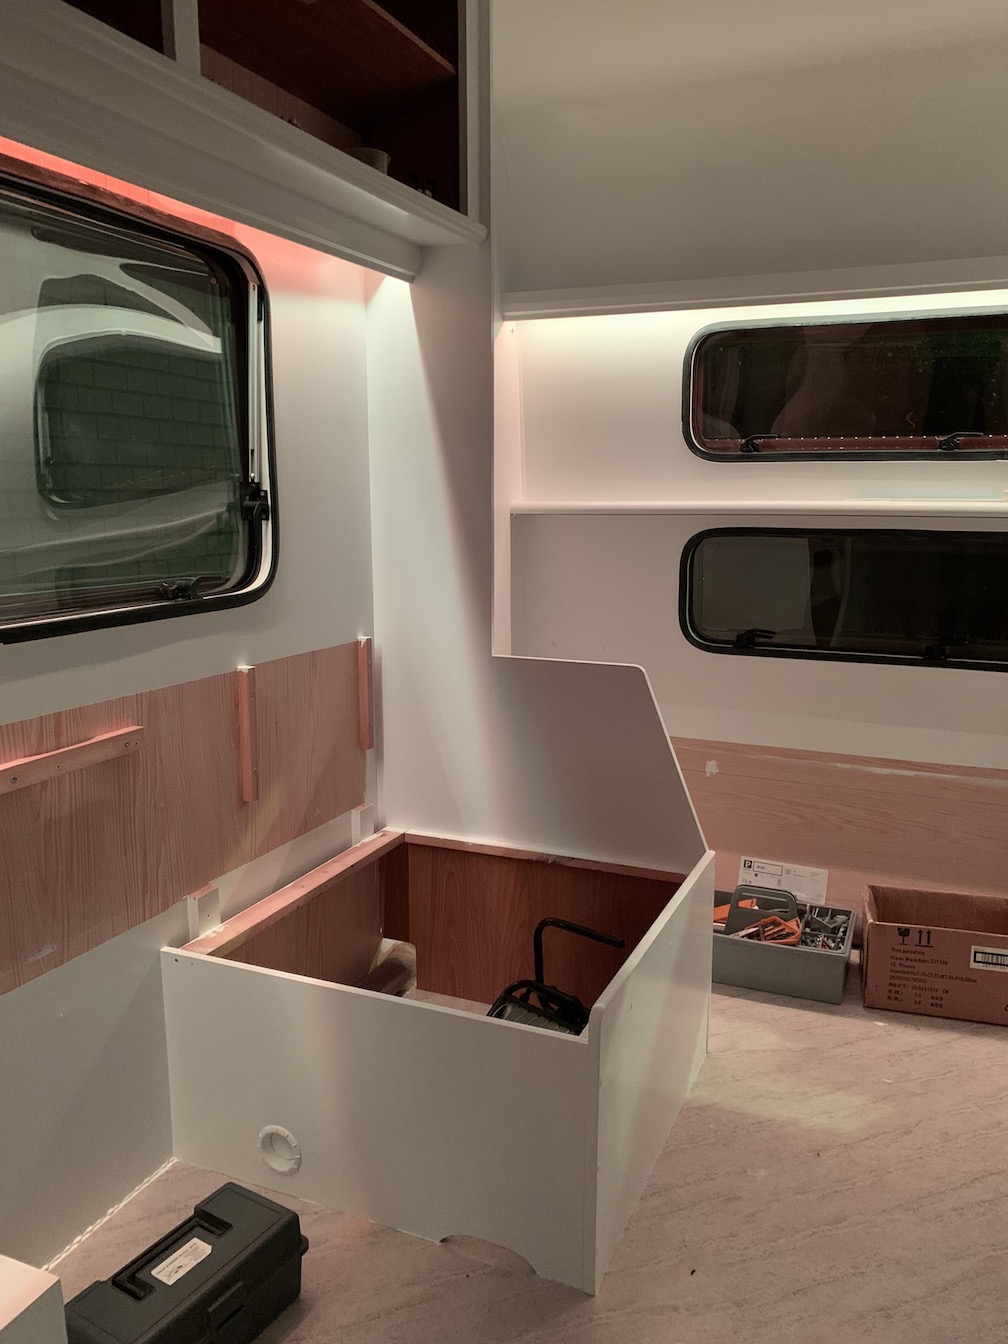
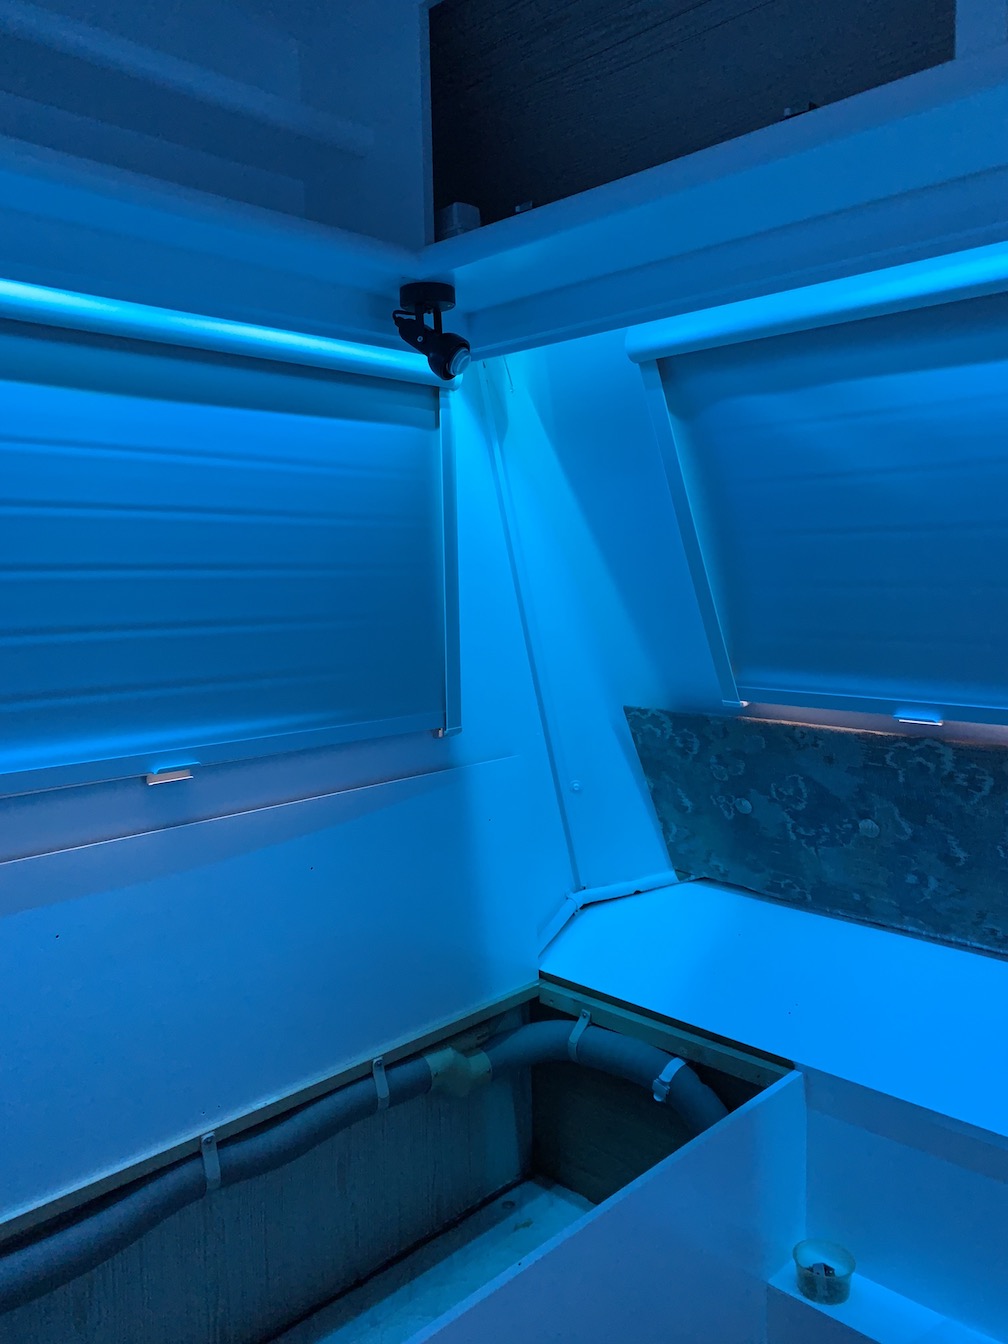
painting in white brightens up the interior At that time, I also decided to install indirect RGB LED lighting (from Paulmann) adjacent to the curtain rails.
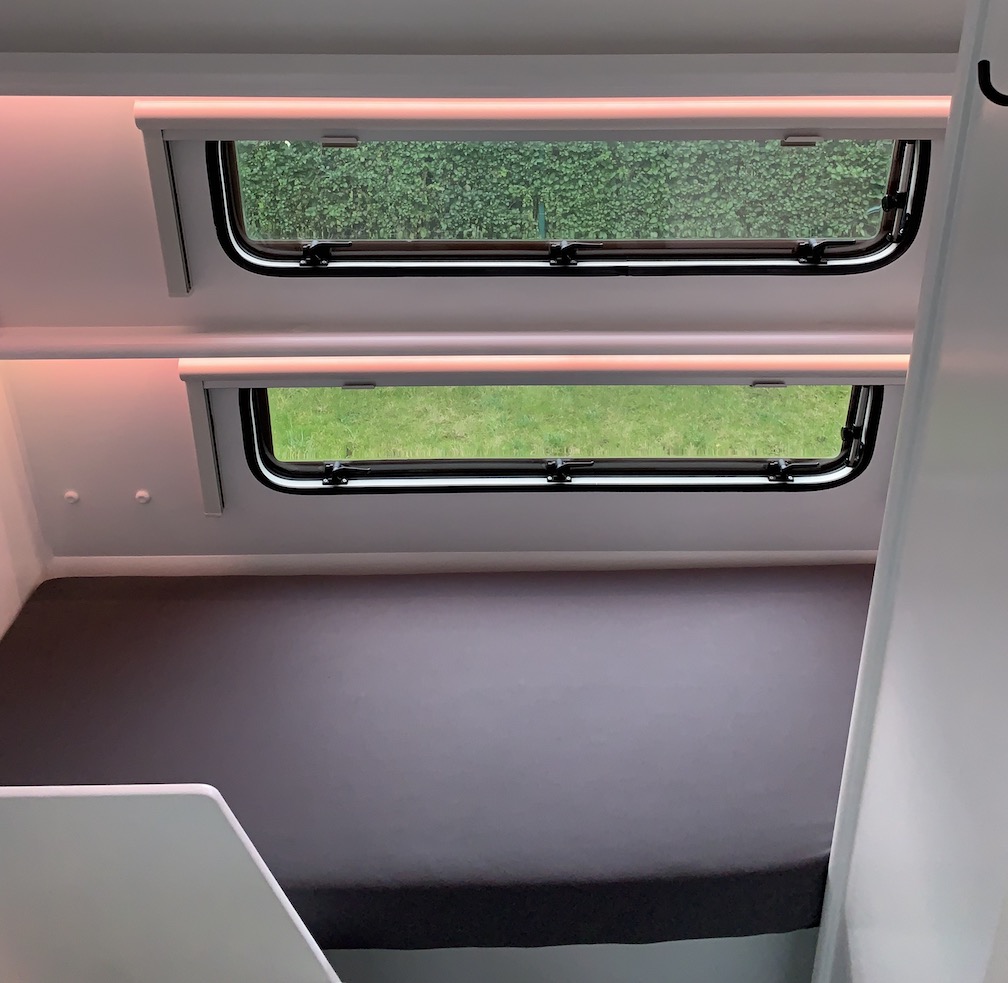
test of the RGB LED lighting Replacing six window blinds (Remiflair I) took a big chunk out of the budget, but it was worth every penny.
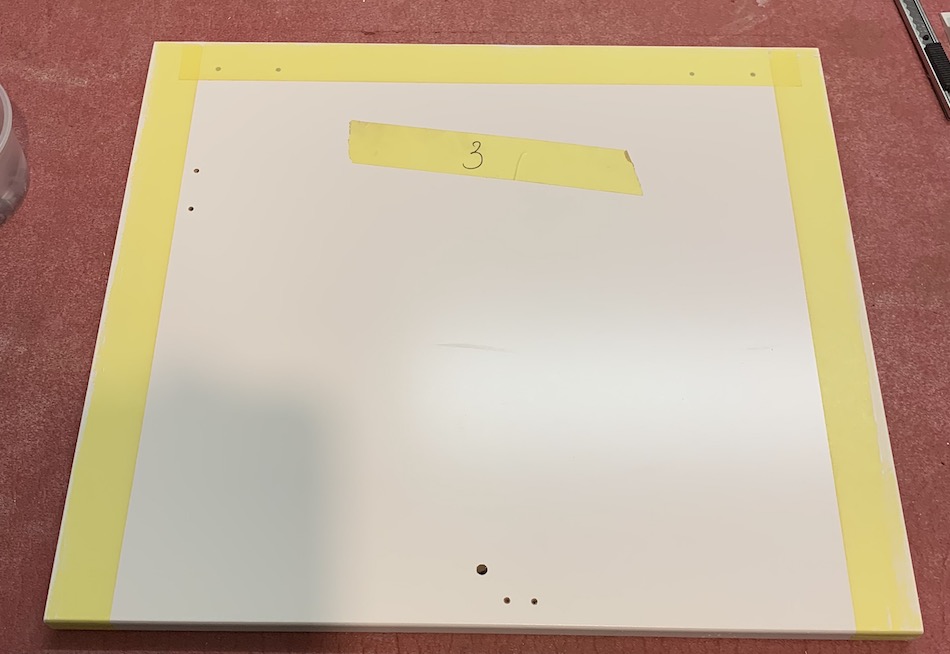
window blinds installed and another test of the LED lighting The cabinet doors were routed and the edges painted. The hole pattern for the hinges, the closures and the openers were duplicated from each individual door.
cutting of a large cabinet door on my computer controlled router
cabinet door with rounded bottom edge and other edges masked for painting
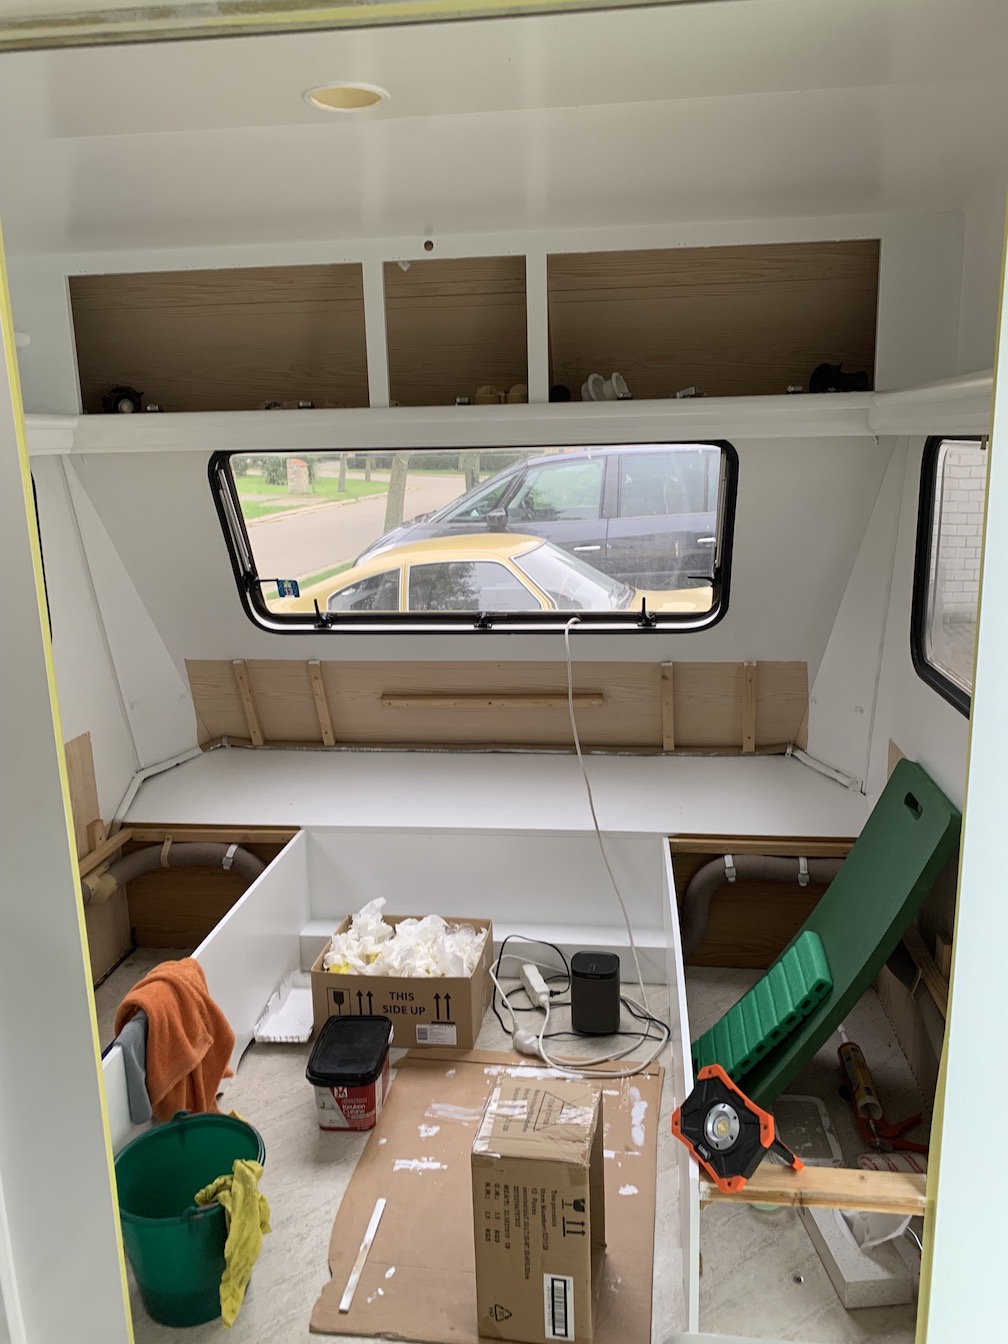
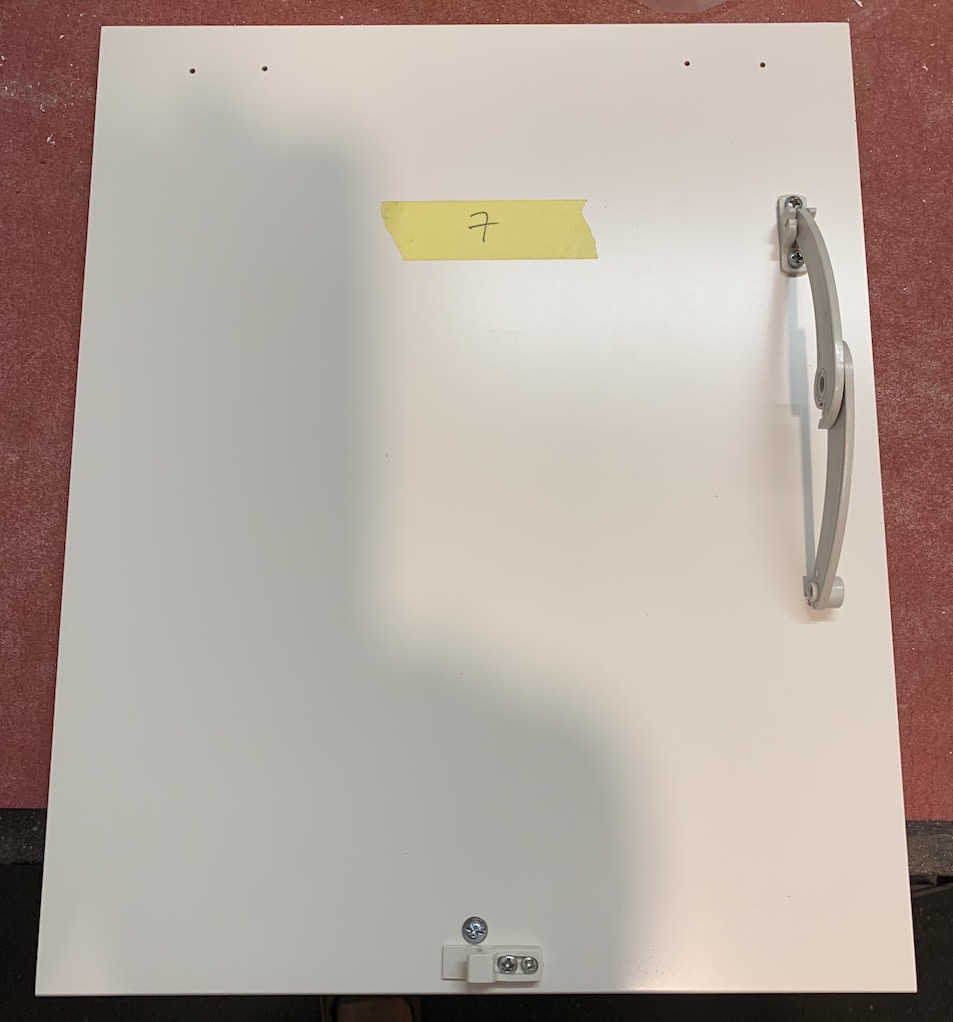
finished cabinet door with hardware installed After that was done, the installation of the doors was completed.
cabinet doors installed The kitchen control panels were refurbished and painted black. I duplicated all markings by taking photographs and redrawing them on the computer. The graphics were then used to print them with my laser printer with white toner (replacing the black toner) on a clear decal sheet. I use this technique to create white decals for my (plastic) model airplanes. With the white decals placed, the control panels and the kitchen sink could be put back in place. It was quite a challenge to make the sink cover panels and to replicate their correct articulation, but I'm more than happy with the result.
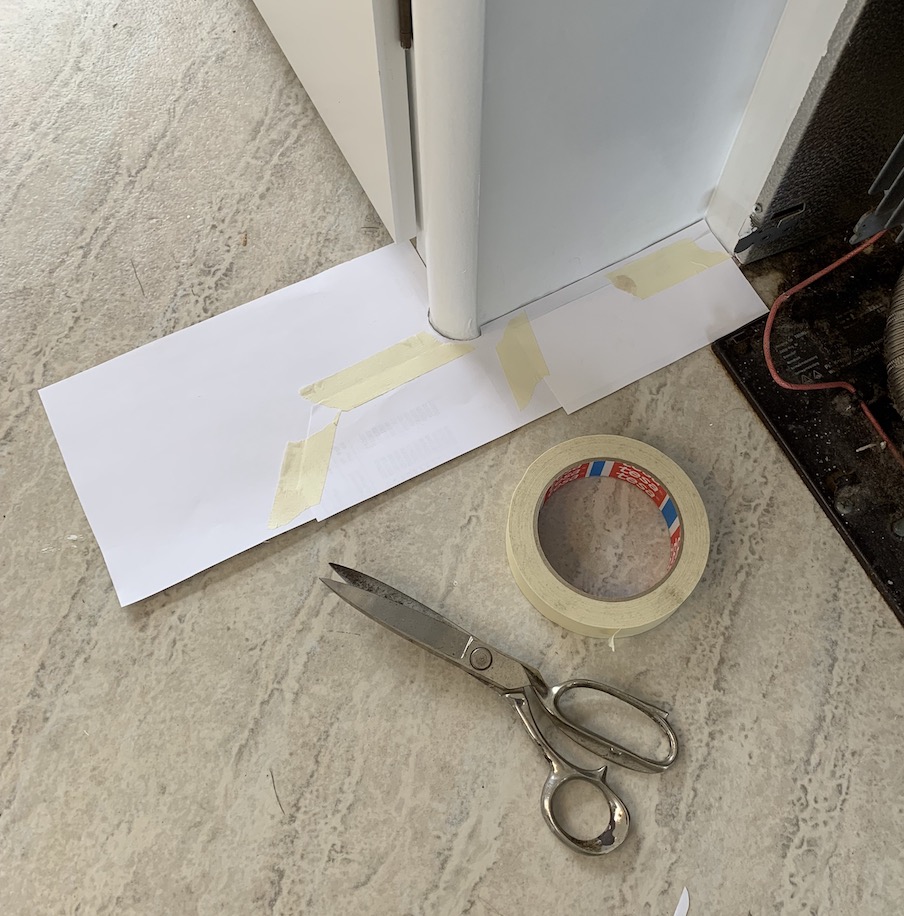
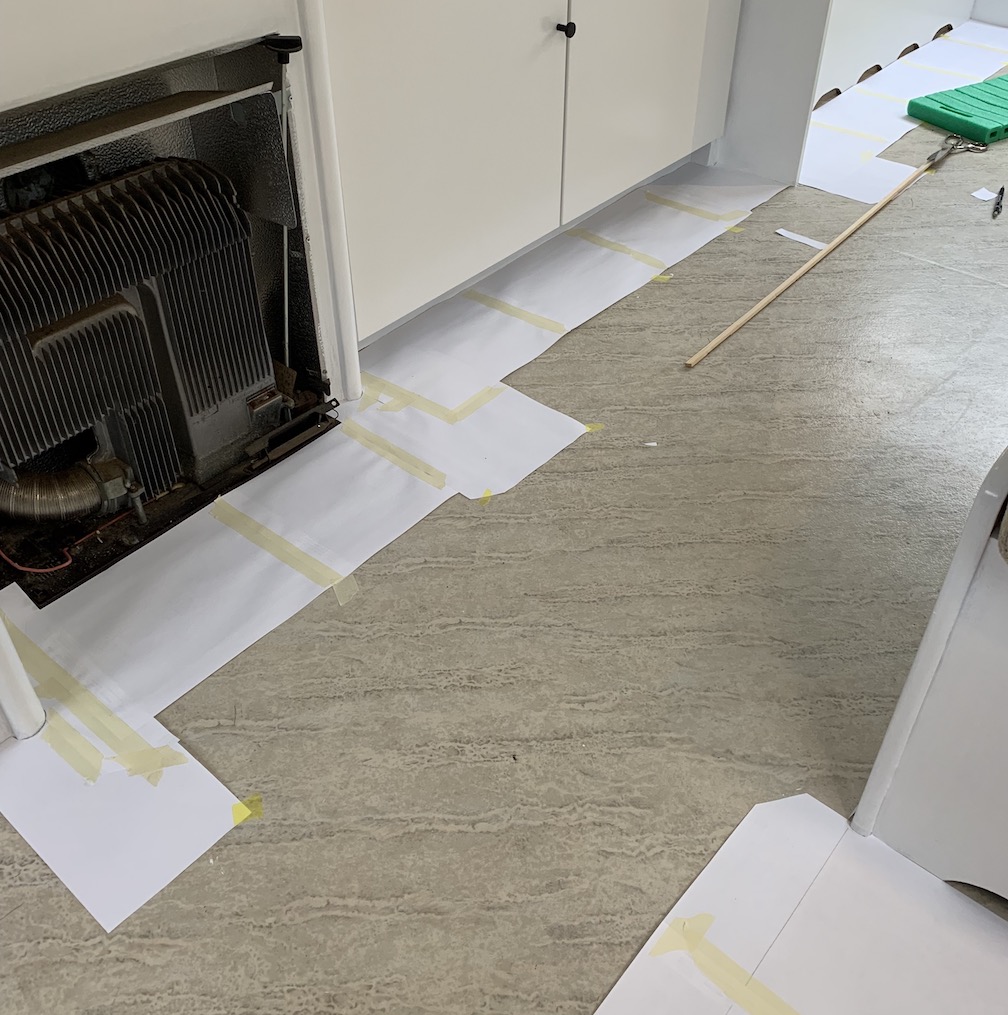
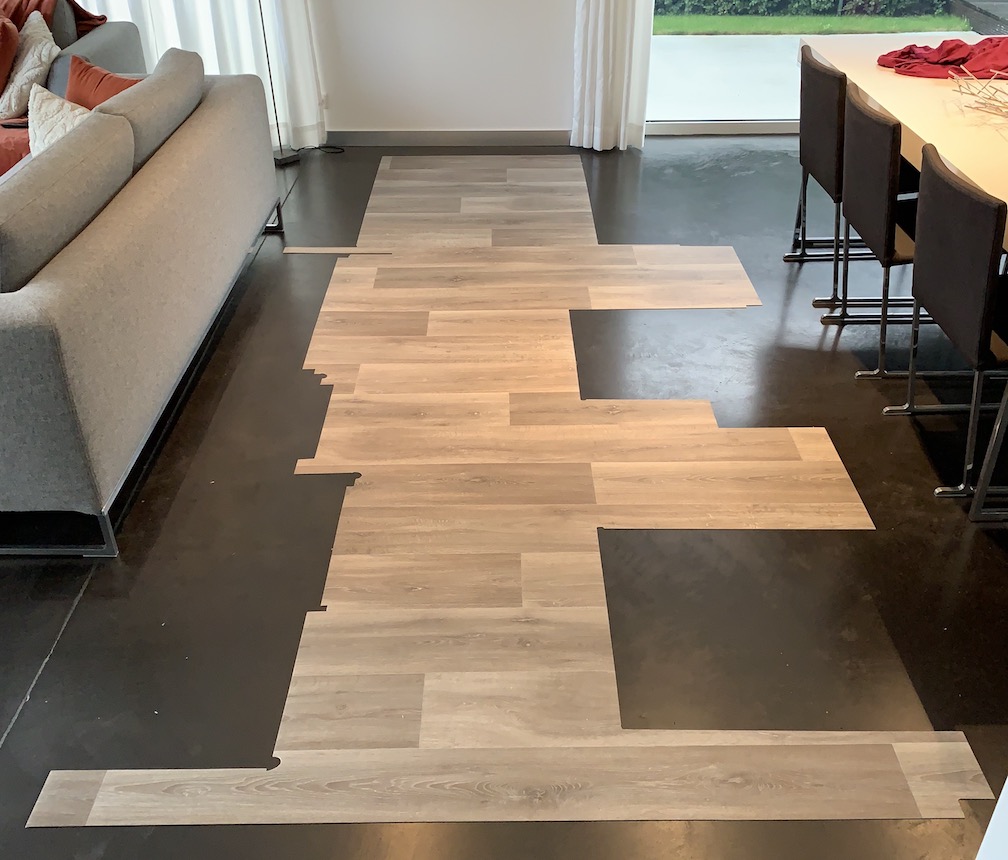
sink covers in action The task I dreaded the most was replacing the floor covering. Thanks to the encouragement of some friends, I eventually decided to tackle the job and I can proudly say it was absolutely worth the effort. A contemporary look vinyl floor covering was chosen (Holly Beige Oak from Kwantum). A template was made out of scrap A4 paper sheets individually cut to cater for the most difficult recesses and all taped together to form a large single piece template.
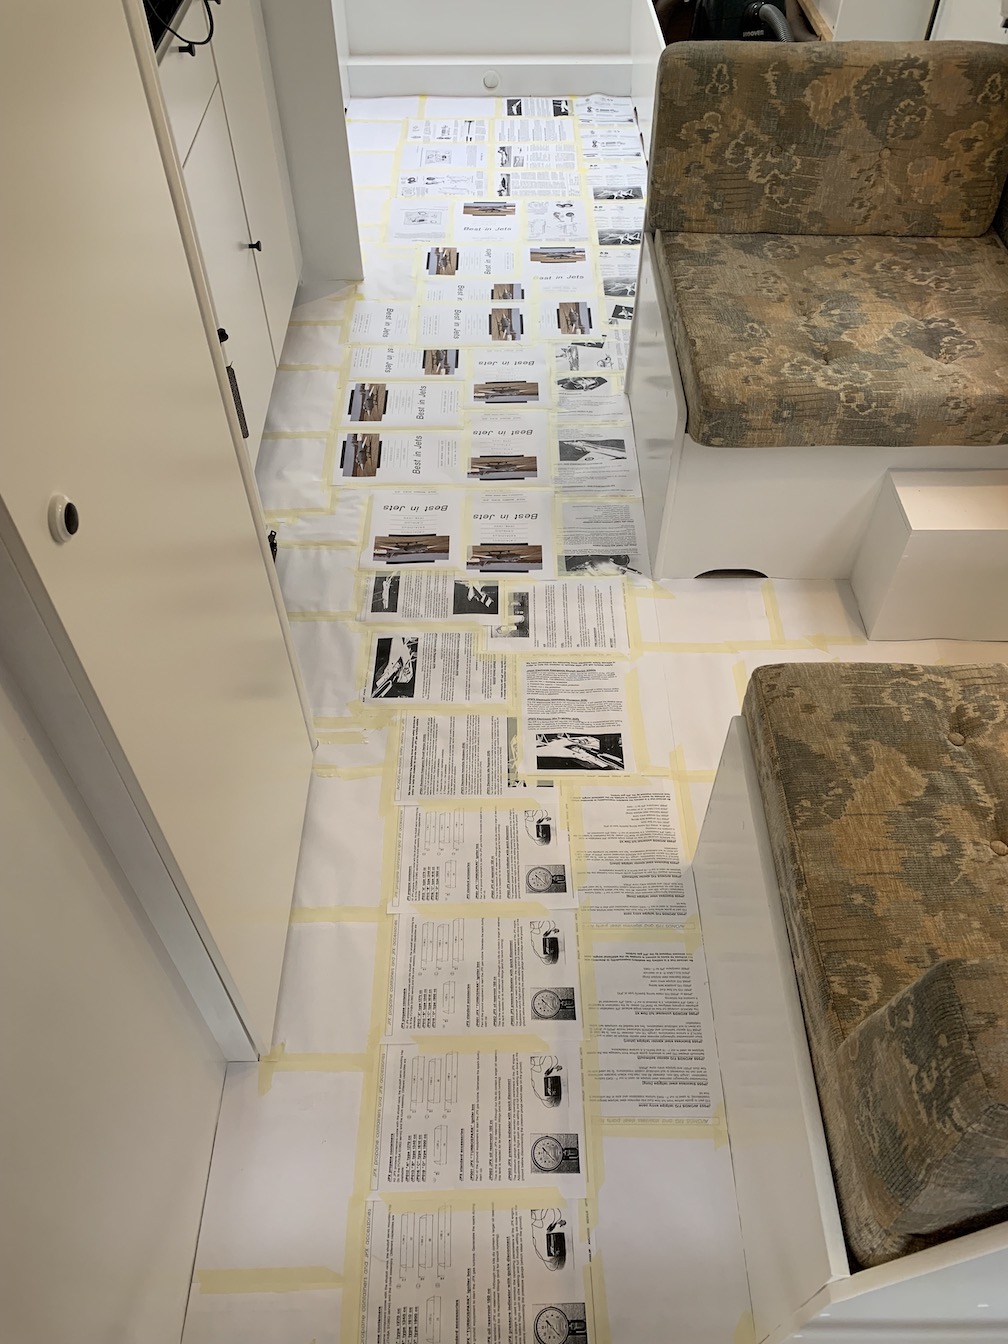
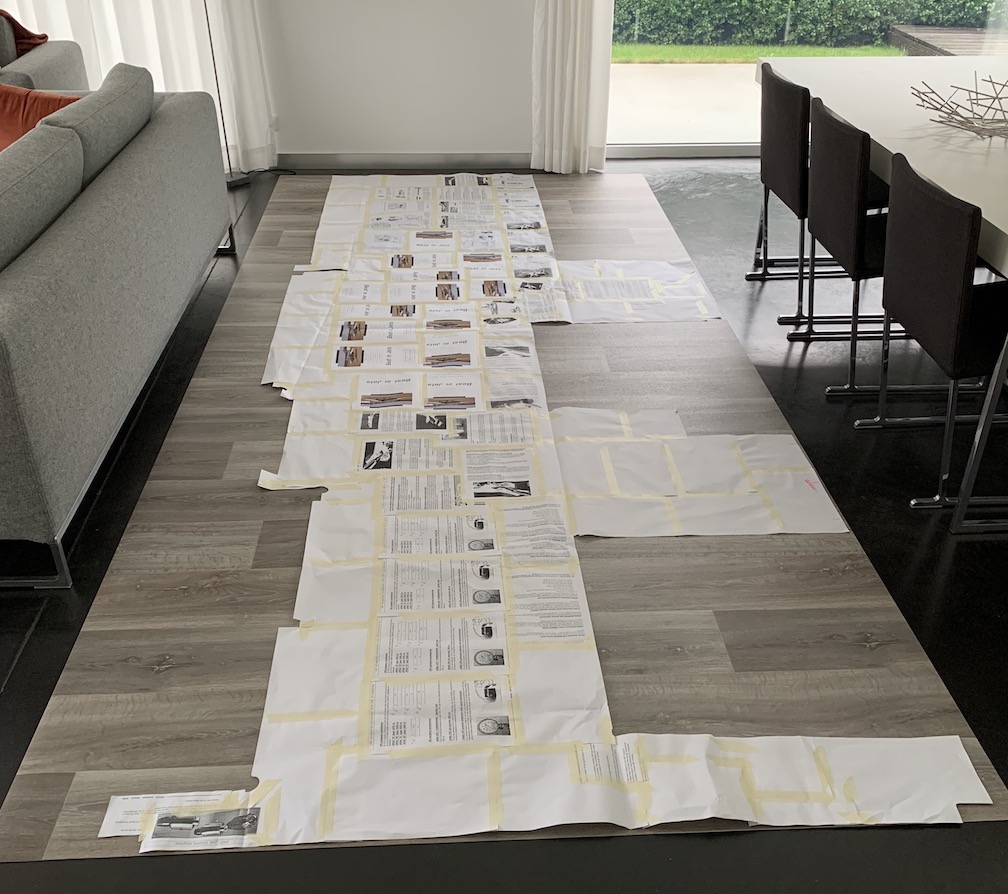
step by step process of making the template I was a bit worried about the accuracy of the template due to the high dampness: it was raining outside at the moment of making. After the rain had stopped, I took the template inside the house and taped it on top of the vinyl blank. I then proceeded to cut it out keeping an approximate 2 mm gap all around.
template positioned over the vinyl blank
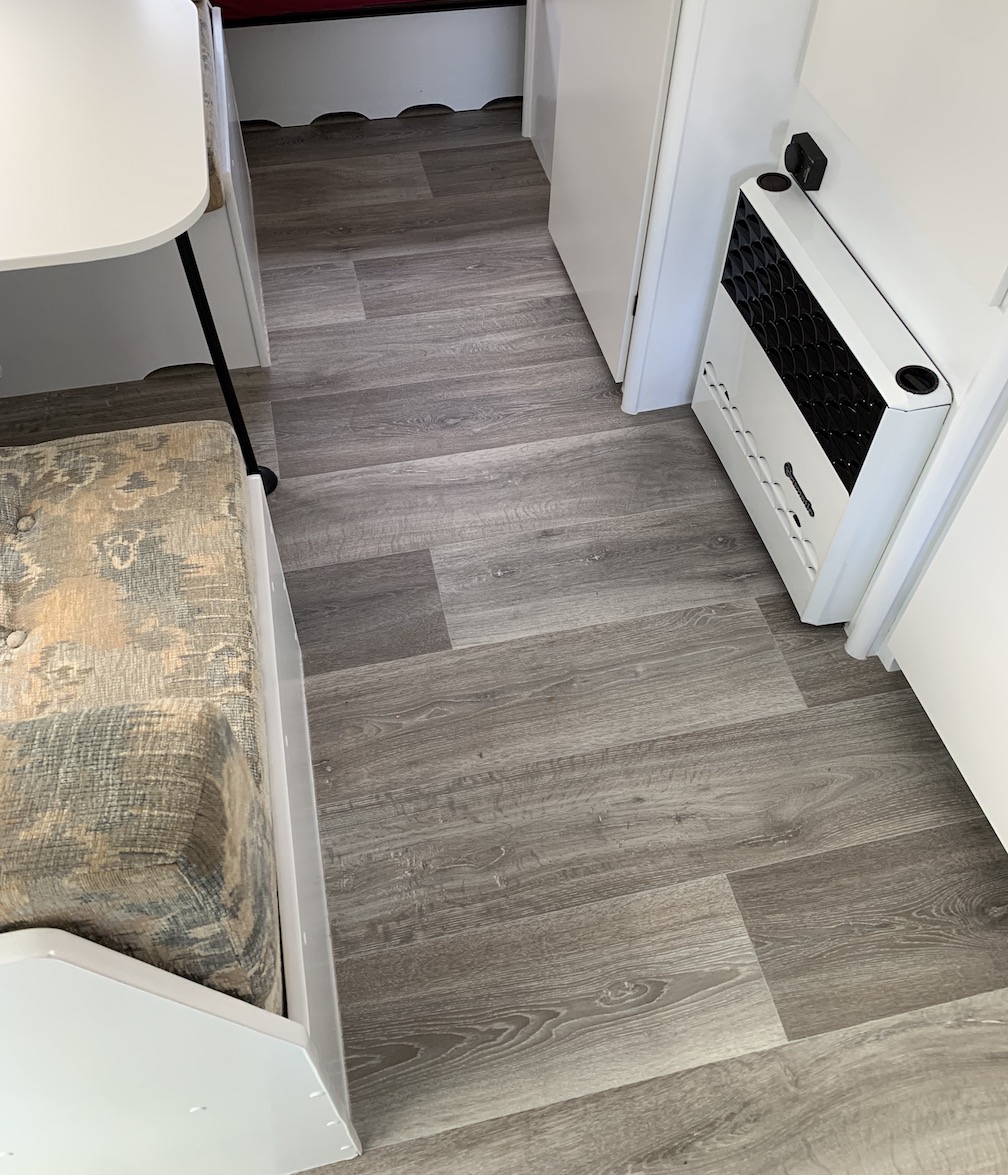
vinyl blank precision cut to size The erratically shaped vinyl floor piece was then carried into the caravan, hoping it would fit... And it did perfectly without any adjustments at all. Needless to say I was very pleased! The floor is free floating on top of the old floor and that seems to be totally ok.
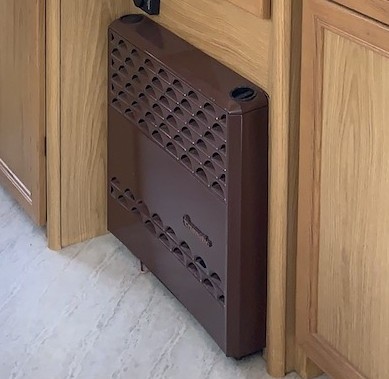
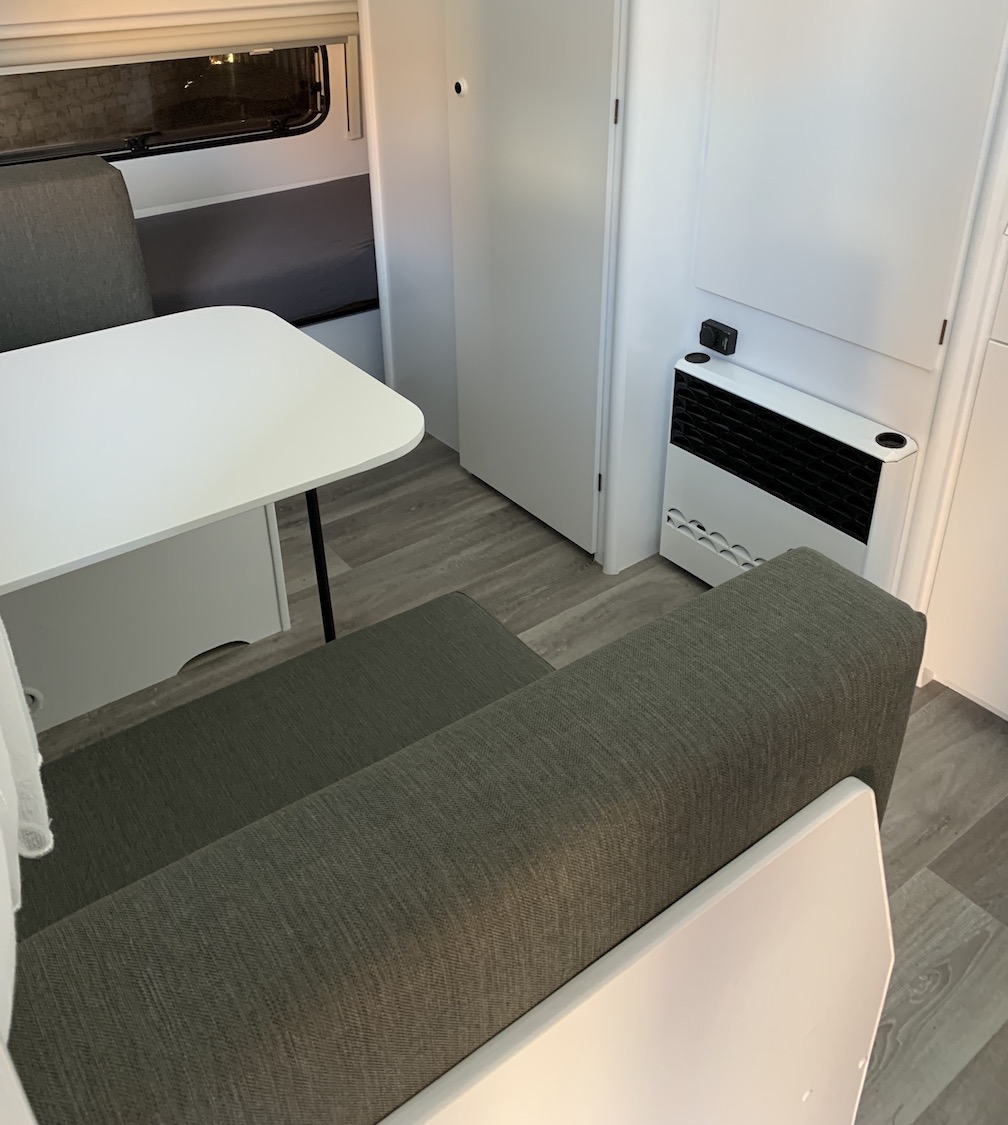
floor installed with the old cushions still visible on the left The ugly brown cover of the Trumatic 3200 gas heater was painted a modern white and black and the logo refurbished.
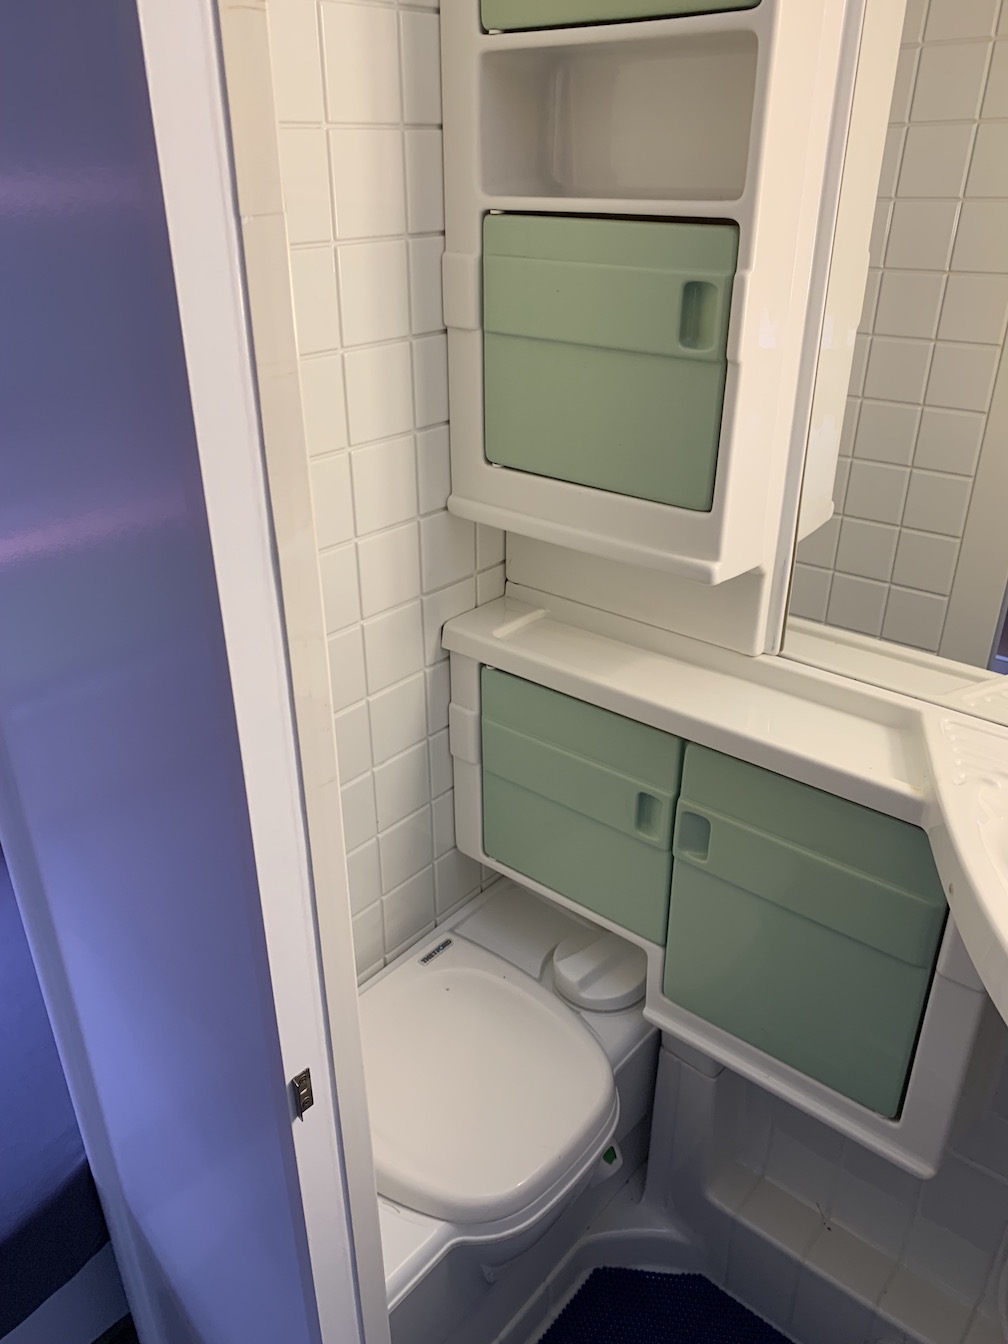
old and new look of the Trumatic heater and floor covering During the make over, I fixed some minor defects and installed a few extra 220V wall outlets. All light bulbs were replaced with their LED equivalents. The toilet space was left as it was except for the brown areas painted white.
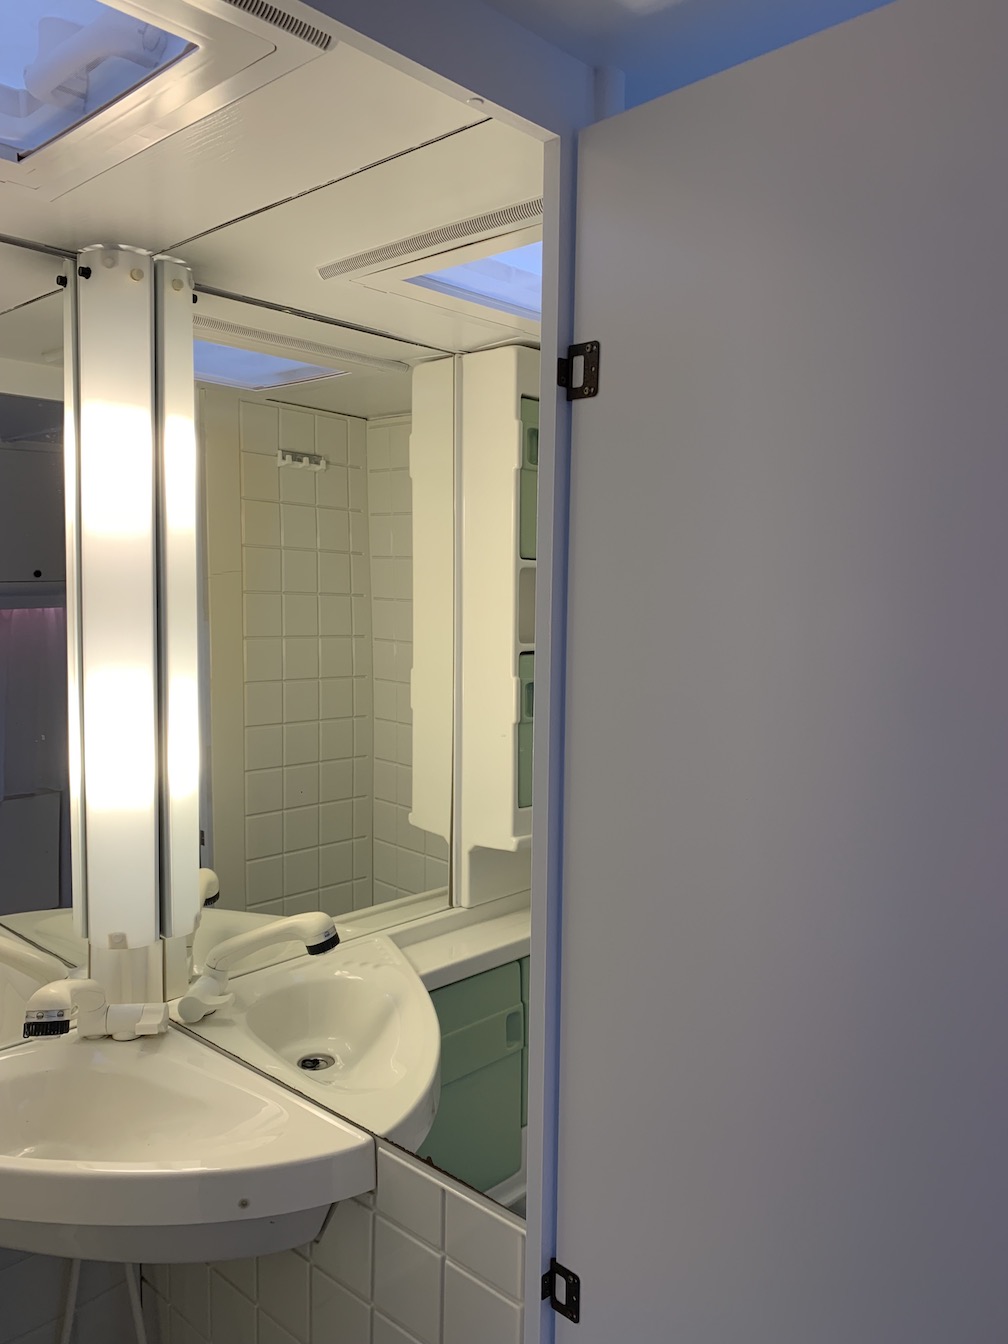
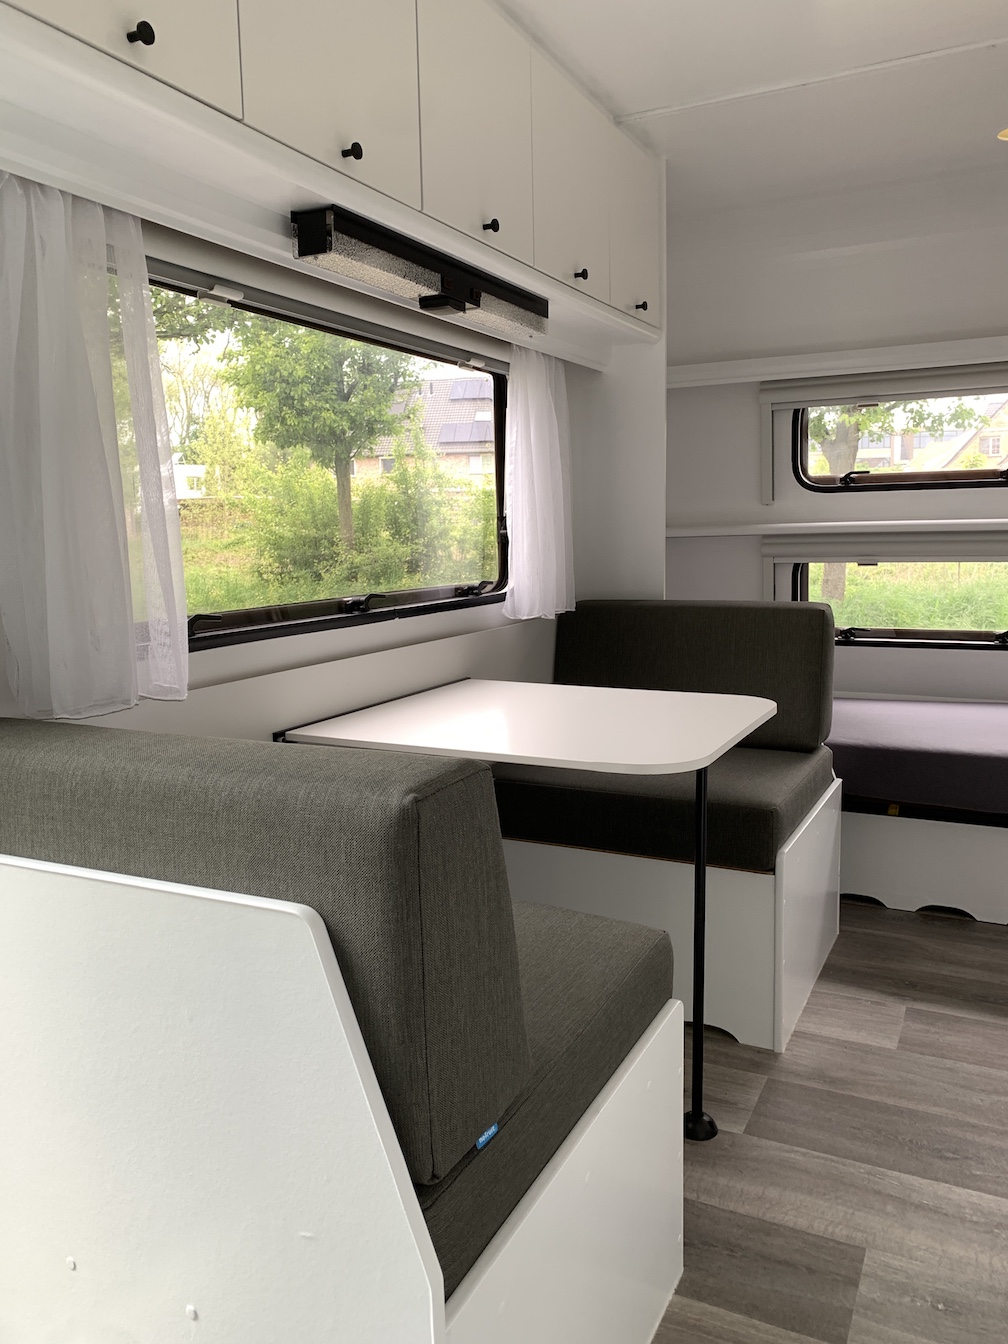
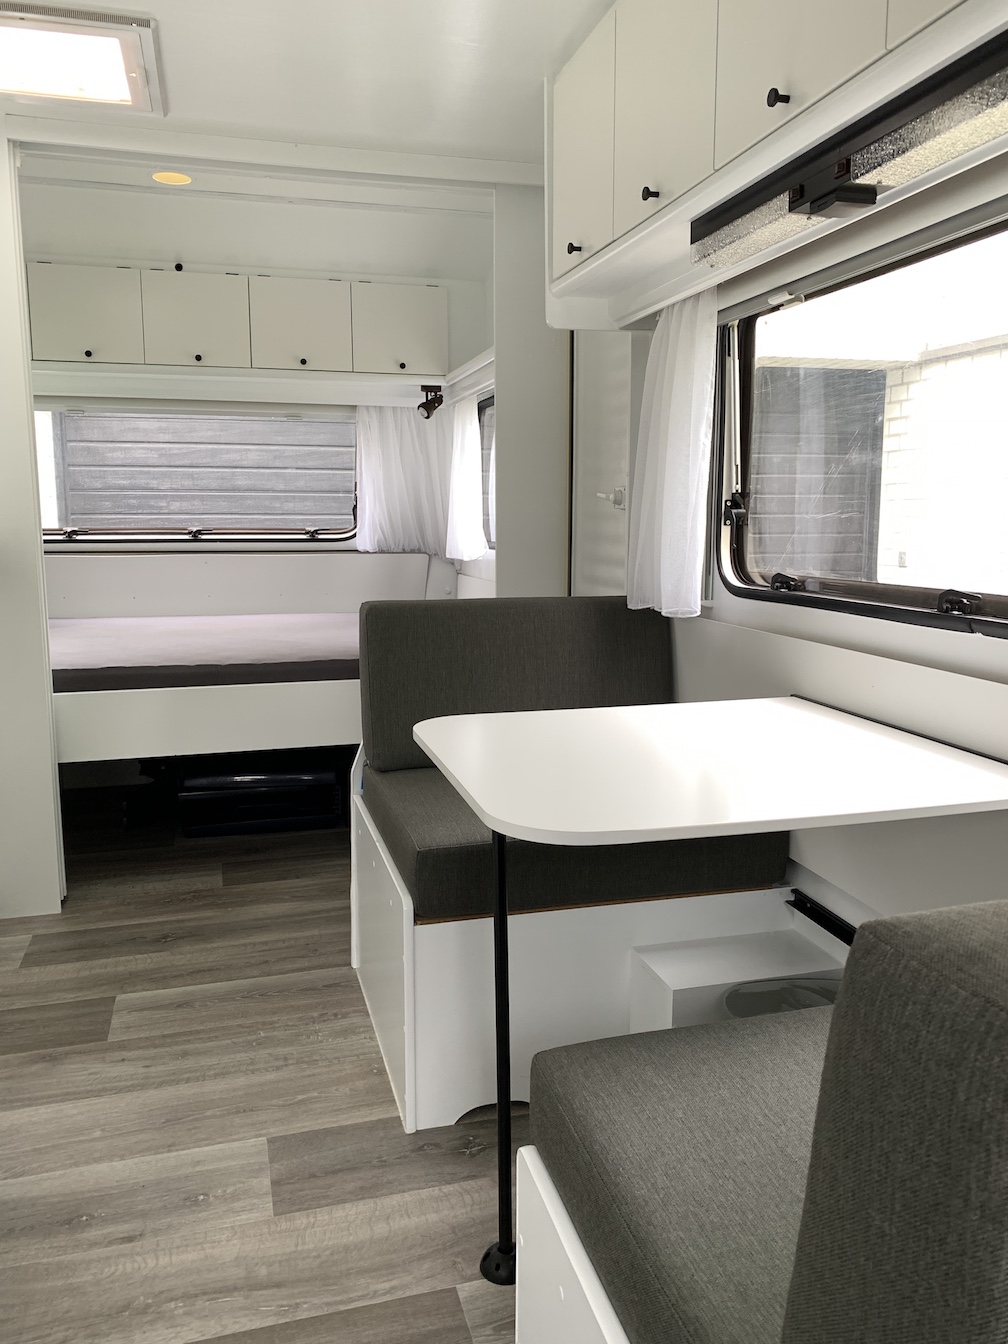
toilet space was still ok, so mostly left untouched A new table for the train seat arrangement was made from the same material as the cabinet doors. The mounting rai ls were painted in black to cover the earlier gold anodized look. There are two of these at different heights, the lower one being used when the arrangement is being transformed into a sleeping bed.All new neutral gray (Southend Anthracite) cushions for the train seat arrangement were beautifully manufactured by a Dutch online shop with a peculiar name: Nofruit. All beds received new gray bed linen from Action, giving a balanced neutral look.
new cushions, new table and rails painted black
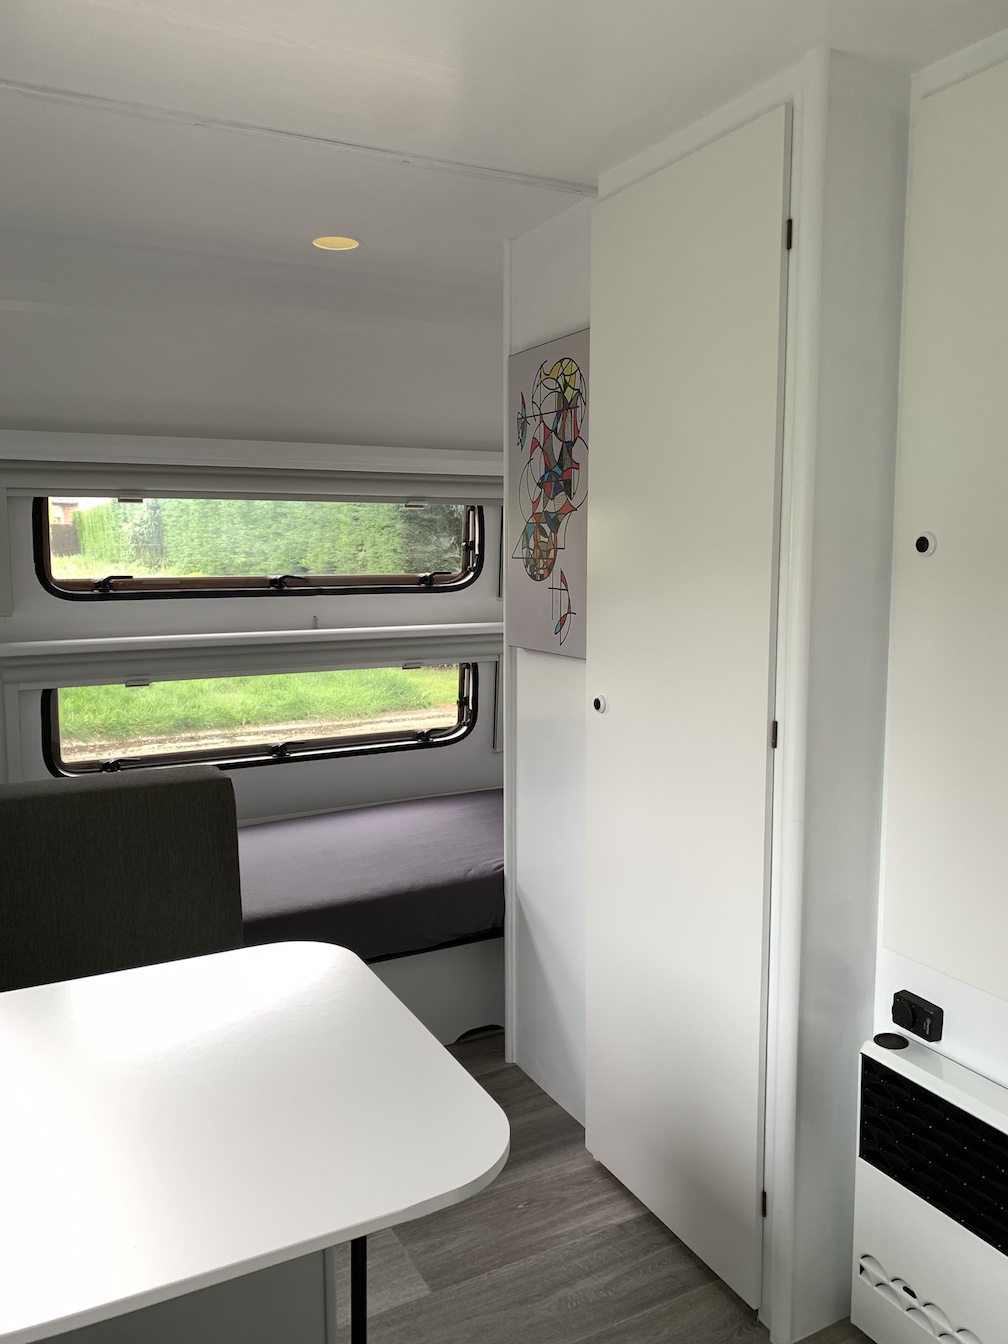
gray bedlinen installed and final test of the RGB LED indirect lighting (also visible top left: refurbished roof window)
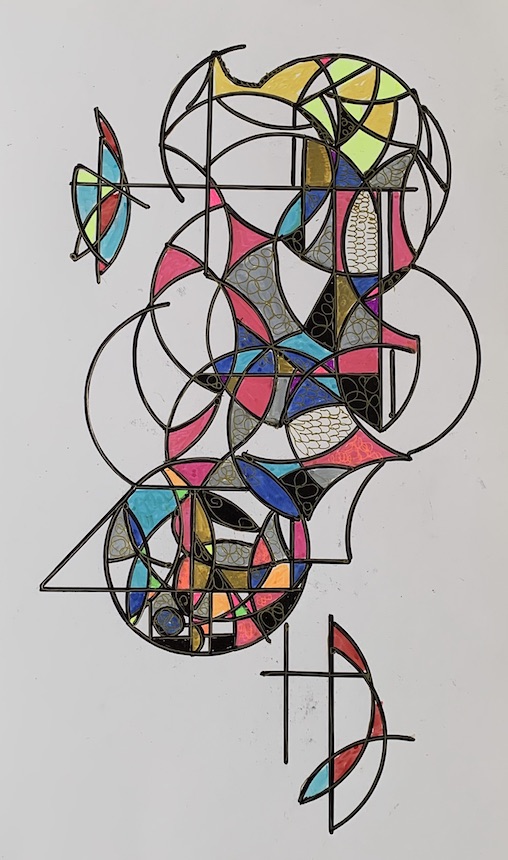
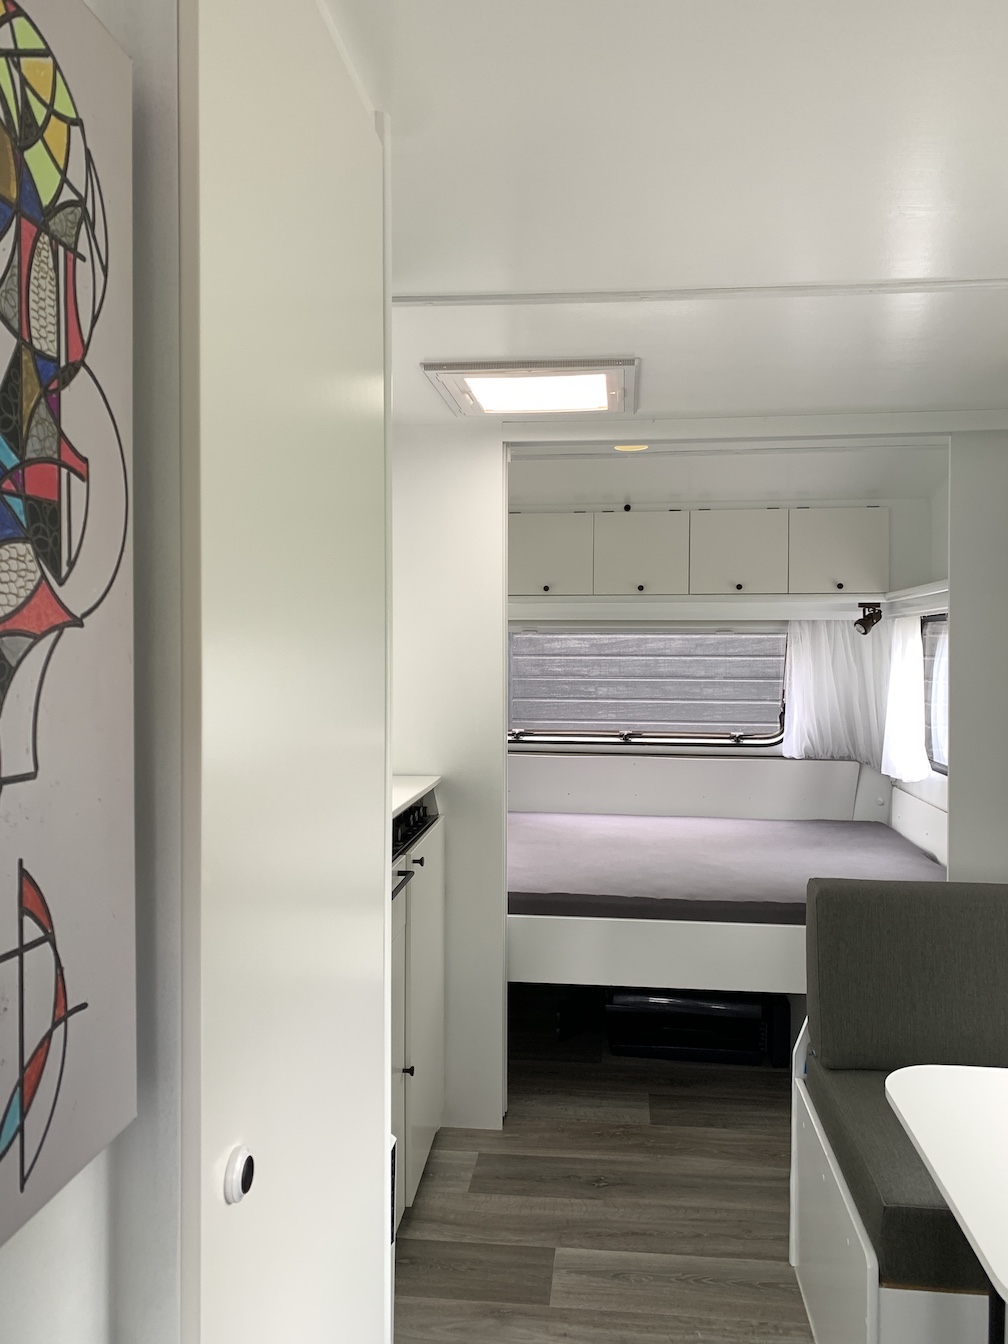
gray bedlinen installed and final test of the RGB LED indirect lighting The final interior job was to be the installation of a piece of art from my dear uncle Gustaaf Avonds (deceased in 2021 at the age of 95). This stunning abstract piece of art brings some colour in the otherwise quite sterile white interior. In my eyes, the perfect balance. The original work is smaller and too delicate, so it was photographed and transferred onto a 64 by 36 cm canvas, courtesy MyPoster in Germany.
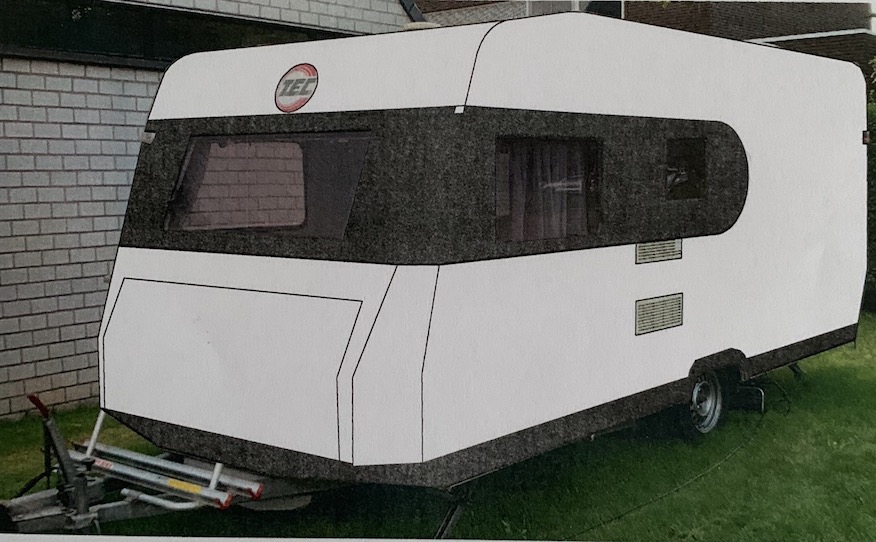
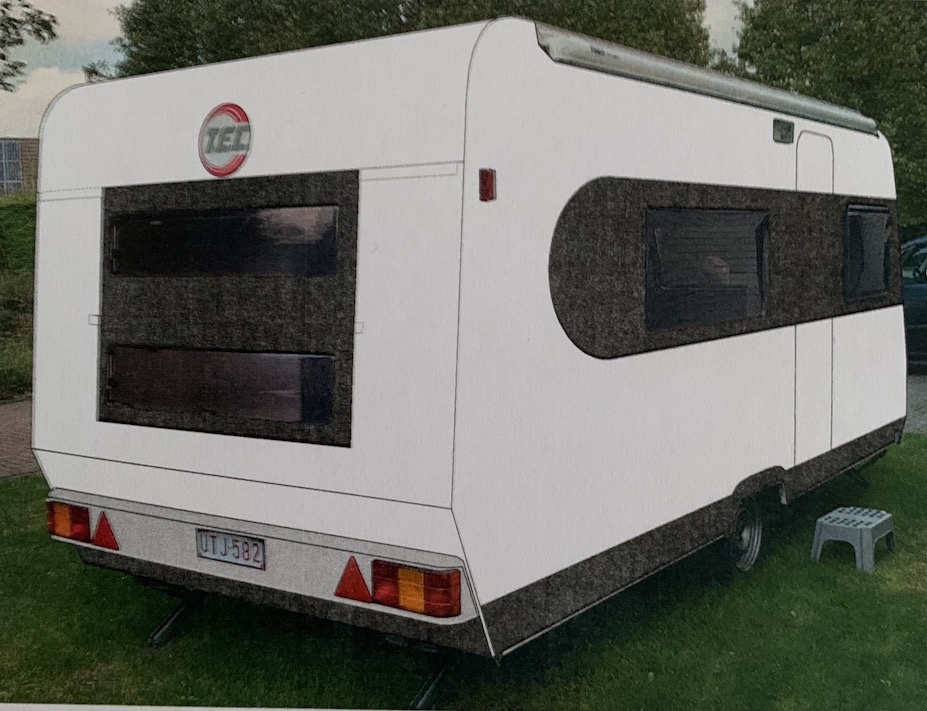
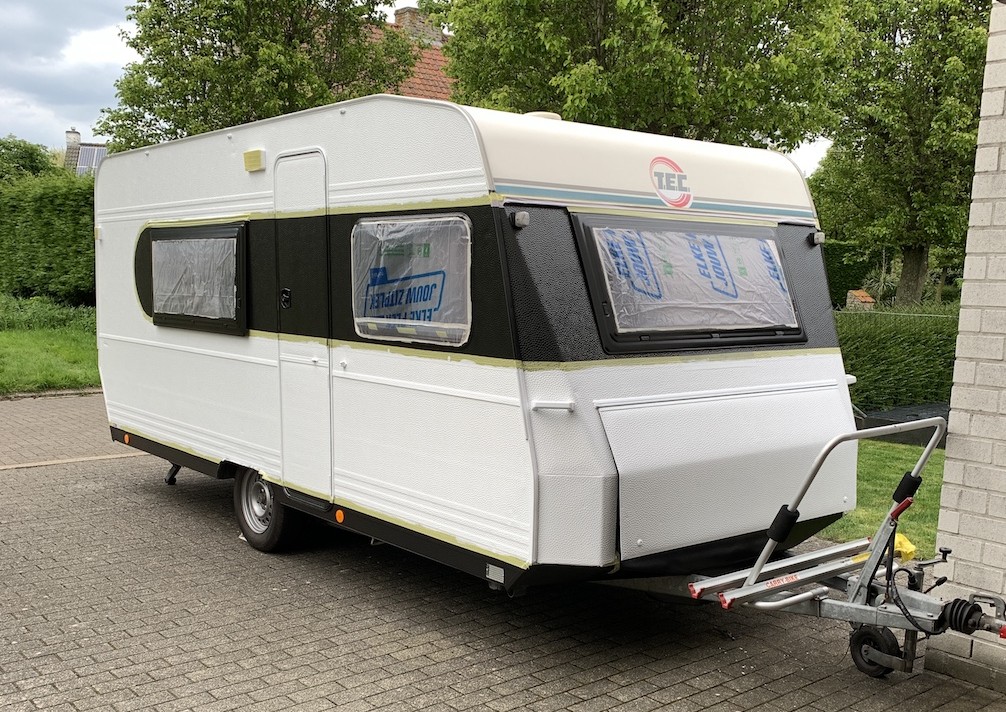
colourful artwork installed With the interior now completed, I was very much tempted to do the outside as well, so I made a few designs on my computer. Below some photographs of before and artist impressions after of the black and white scheme that was withheld.
before and after...
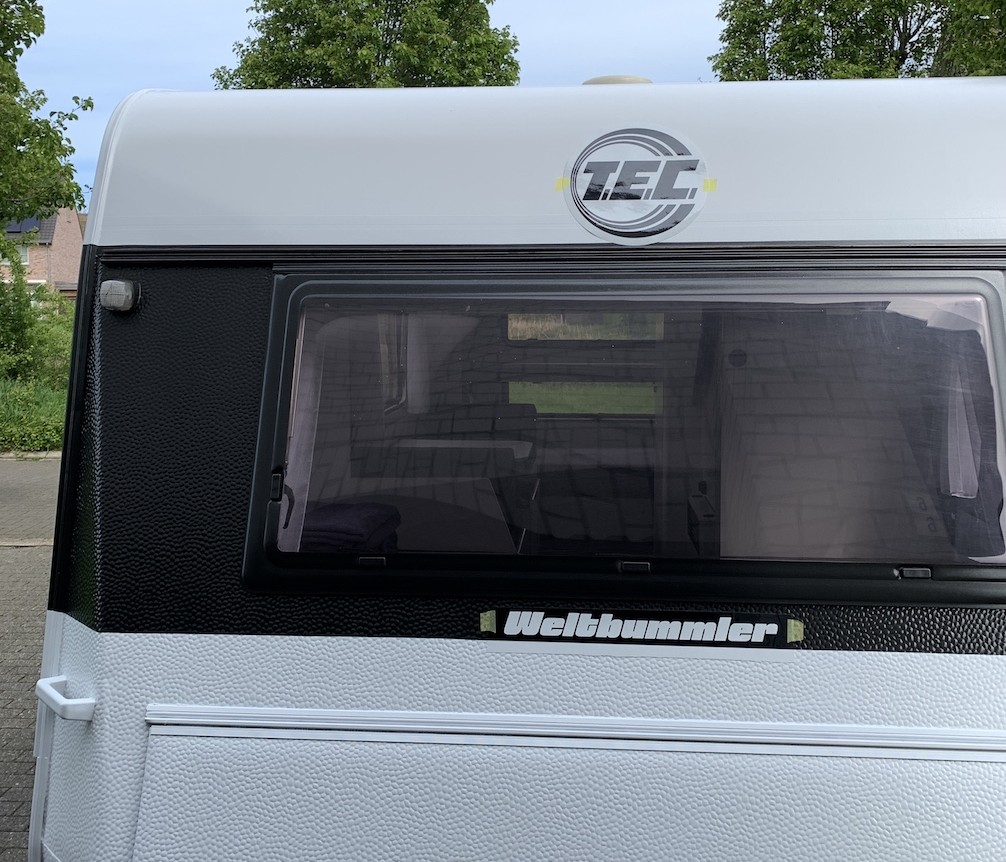
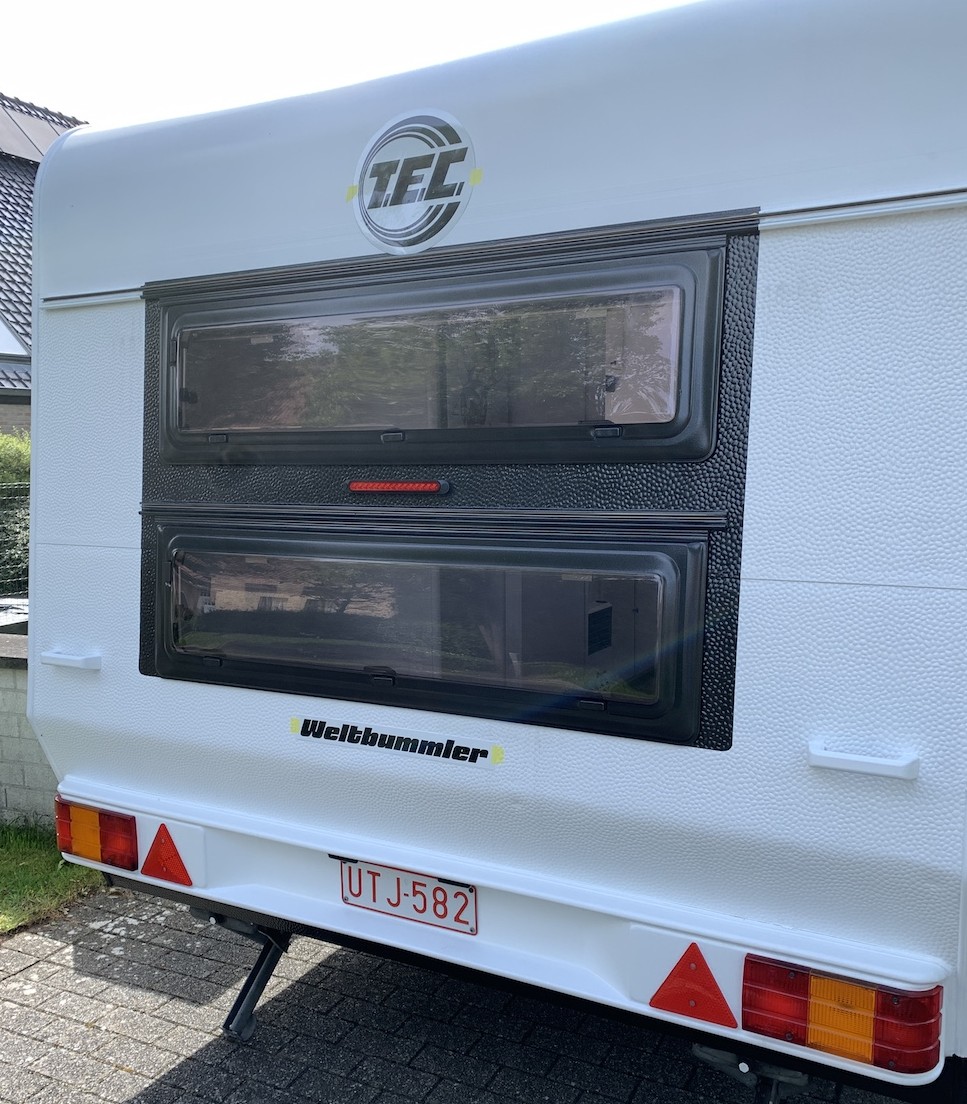
before and after... In the spring of 2024, I decided to do the job. Multiple weather forecast apps agreed that a few good days were coming up, so the caravan was fetched from storage. A good washing and degreasing was up first. This was done with Solarine. A good dry rubbing with Scothbrite followed. Then came the task of masking of all windows and smaller items like lighting etc.
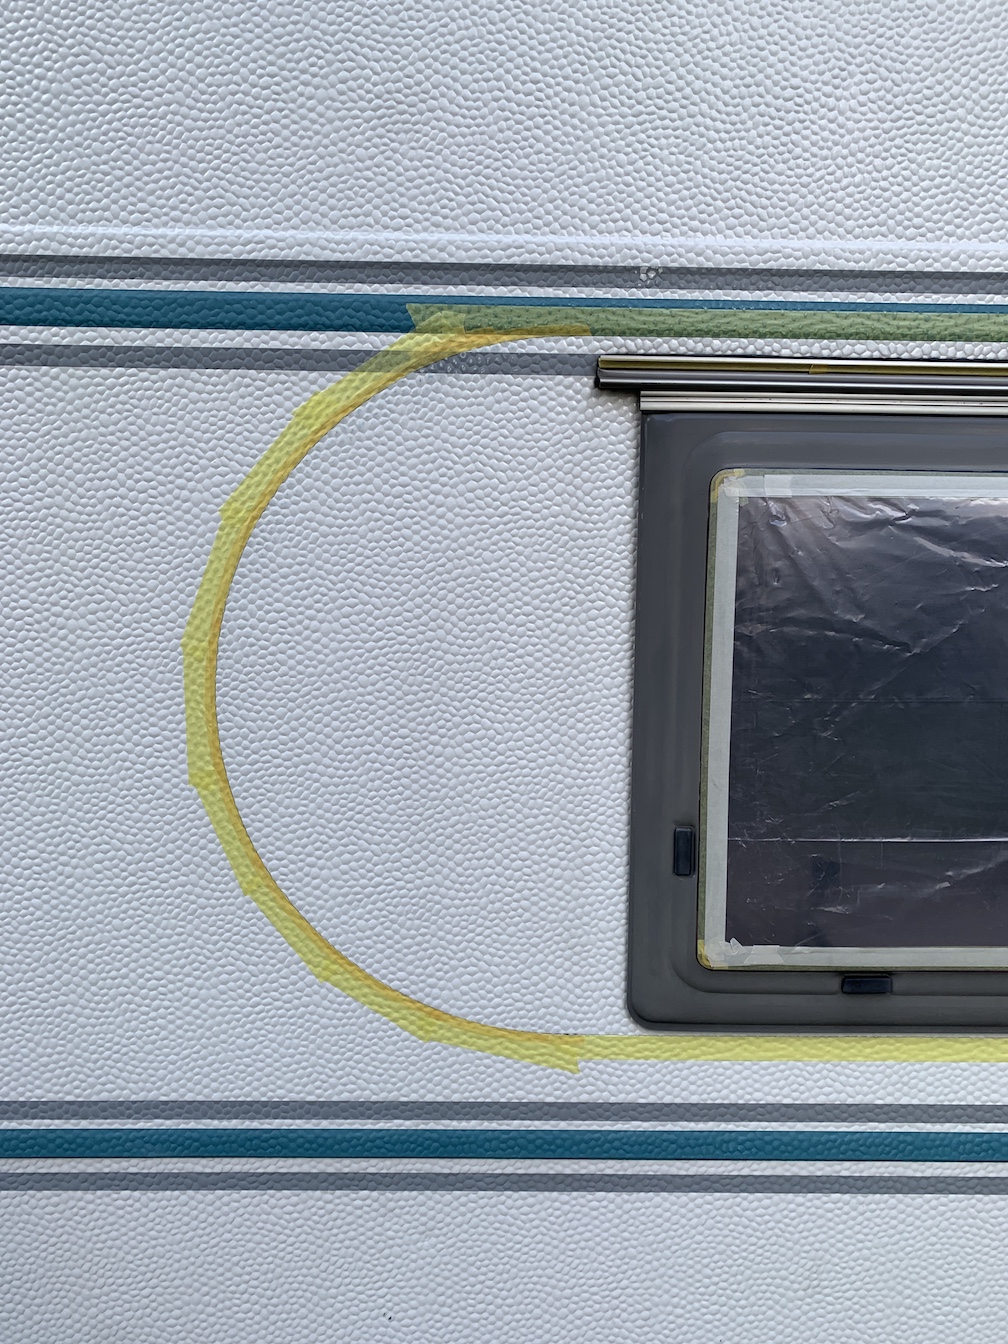
windows and lighting all masked (tail lights were removed) Normally, one would do the white first and the black on top, but I reversed the procedure because of the horizontal lines on the old scheme which ultimately were very helpful for aligning the black demarcation. To do the half circle, I cut some masking strips with the correct radius on my Roland Stika (also used to cut the new markings, see further on).
demarcation line between black and white I also masked all rails above the windows and the large awning rail on the right hand side to make sure paint would not enter the rails. Now all appropriate areas were painted black. I used a simple paint brush and a roller for that. Spraying was out of the question on this outside job. The paint used was the same as for the interior: V33 kitchen renovation paint. Two coats (and in some areas three) were necessary.
black paint applied I observed a lot of paint creeping through the "valleys" of the rough surface texture under the masking tape. This was not a problem at this time, but I wanted to avoid that as much as possible when applying the white over the black. So I proceeded with masking all the demarcation lines again, this time from the opposite side. When that job was finished, I first brushed some black paint along all demarcation lines, in the hope the black would creep under the masking tape and prevent any white to do the same later. I can already disclose that it worked very well indeed.
white applied on all sides except roof portion The roof was tackled a day later. In fact, I did only the part of the roof which is visible horizontally. With that finished, it was time to remove the masking tape and have a first impression of the final result. Note that in the mean time I had installed a third brake light to improve safety.
masking tape removed
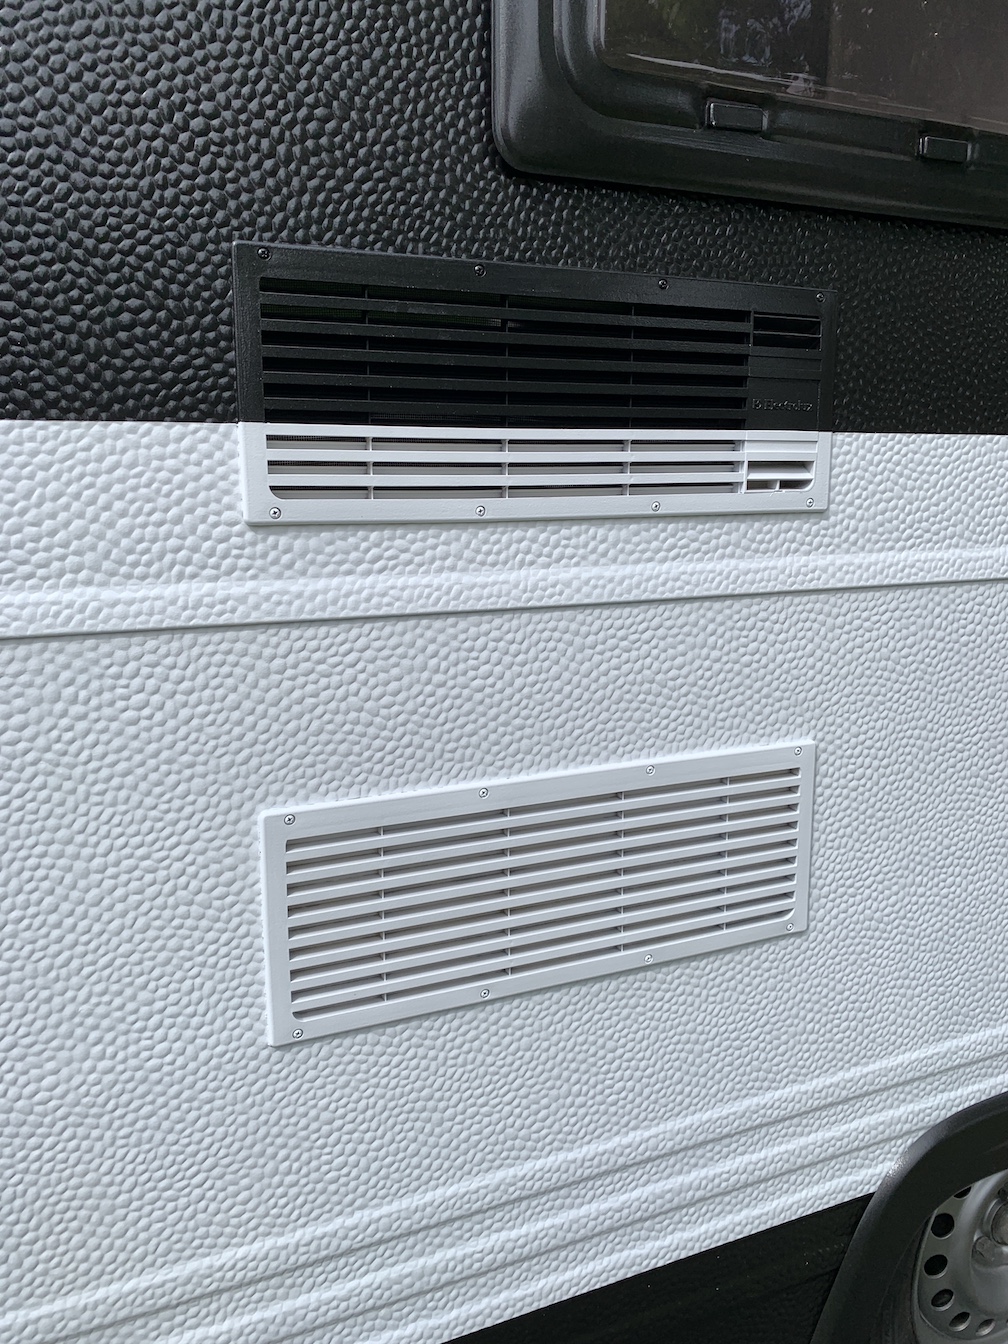
the grilles for the fridge were a challenge...
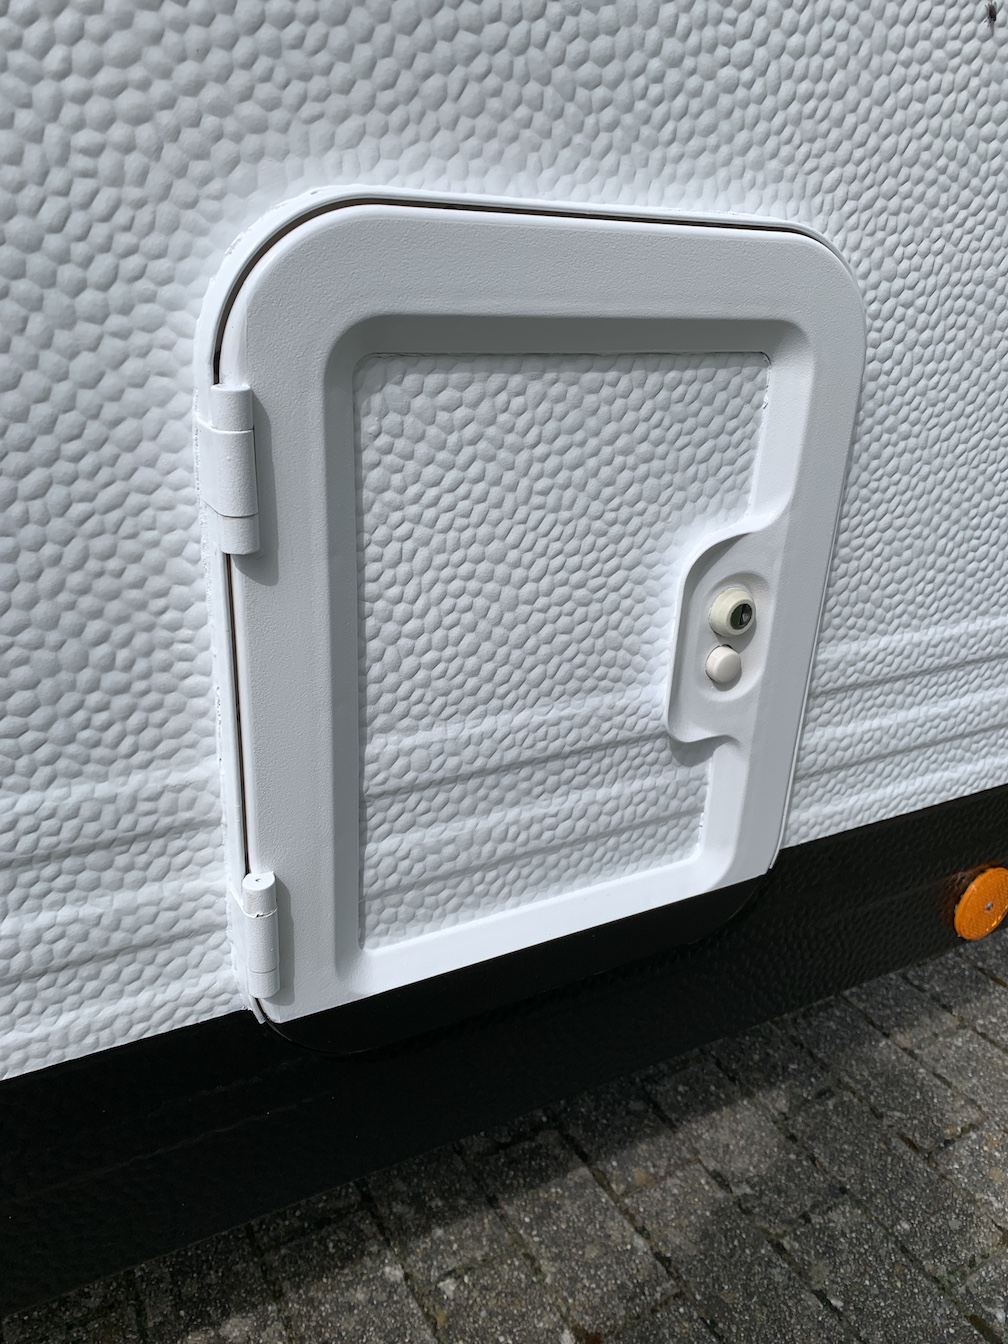
...and so was this toilet access door
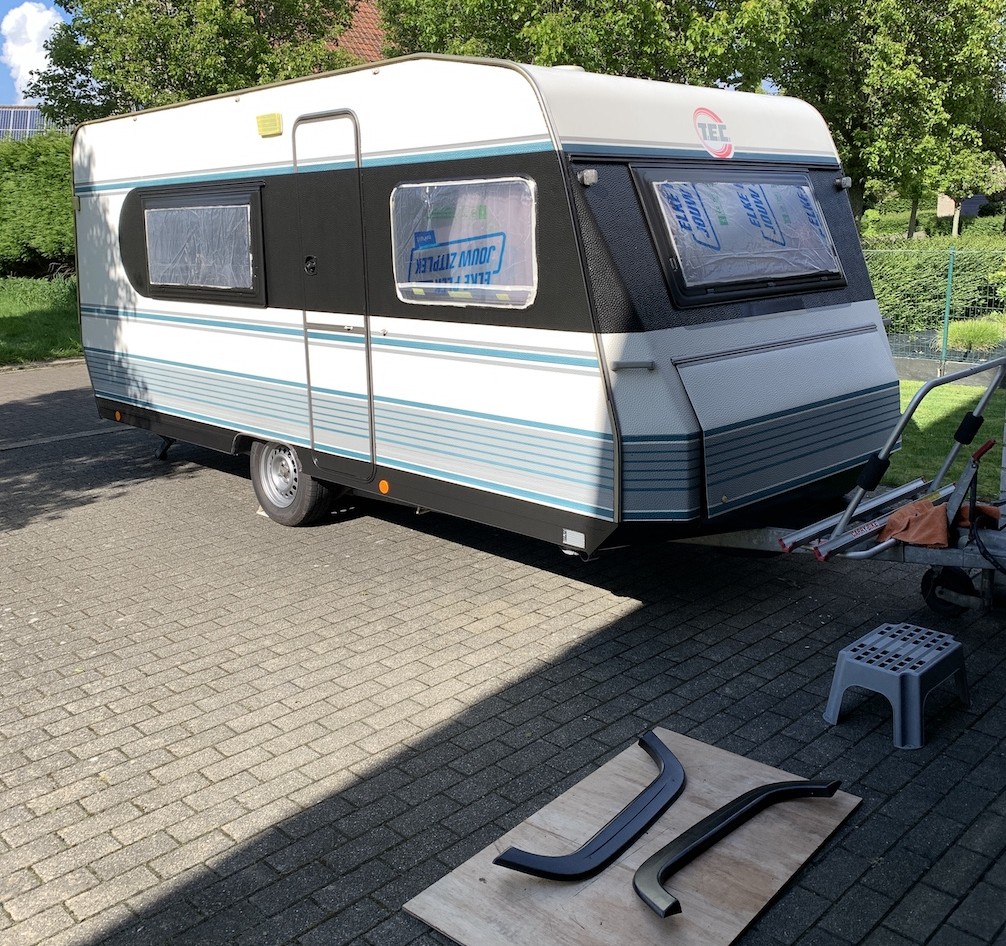
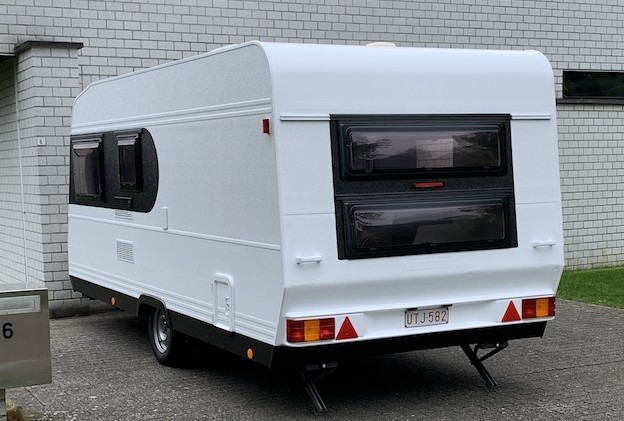
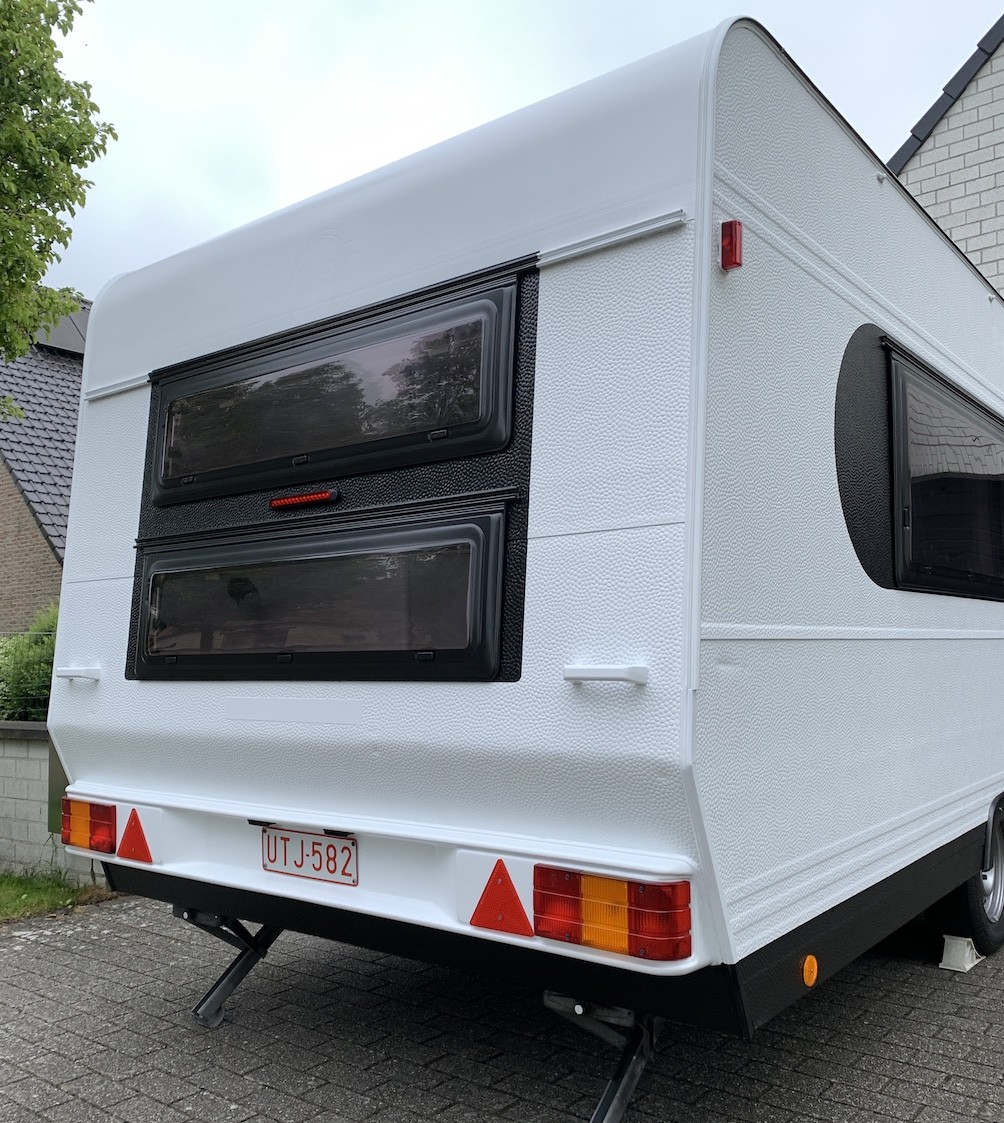
aft side with third brake light installed The original markings were in white, dark grey and red. I cut new ones and they were initially to be the same as the originals with the dark grey replaced by black. However, I decided on all black and white markings. I just temporarily installed them for the photographs below, because at time of writing, the paint needs another few days of thorough hardening before any markings are applied.
markings temporarily installed I had bought some cheap wheel covers years ago, but they looked kind of silly on the old caravan. Now they give a finishing touch, don't you agree?
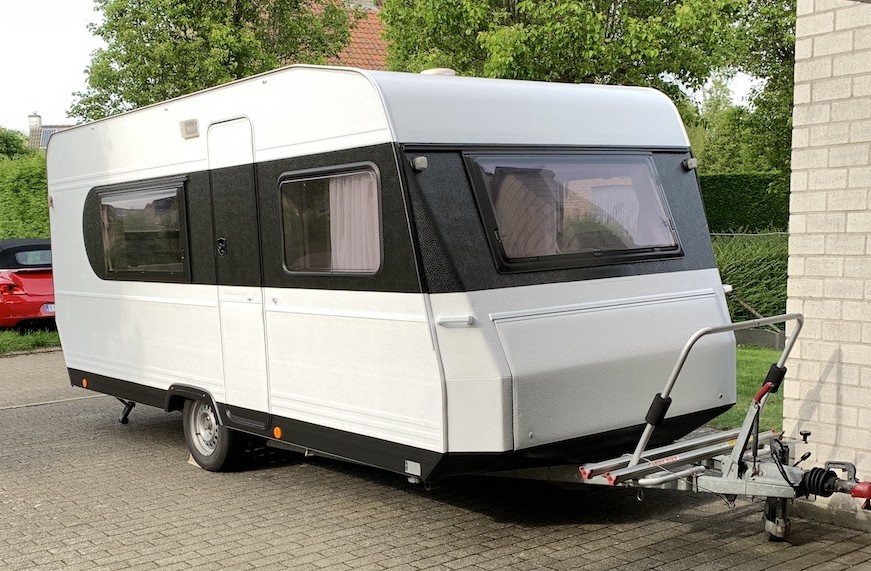
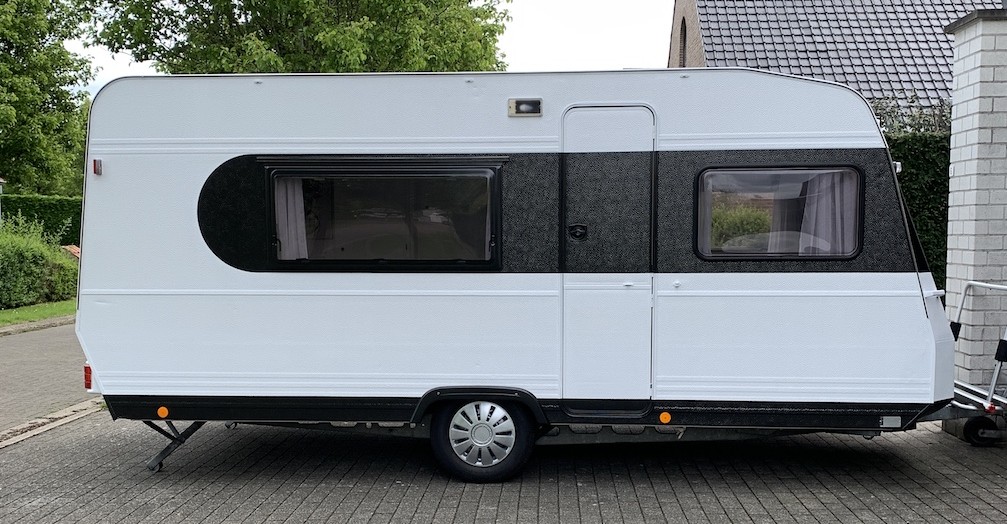
side view with the wheel covers installed
and finally, another before and after view...
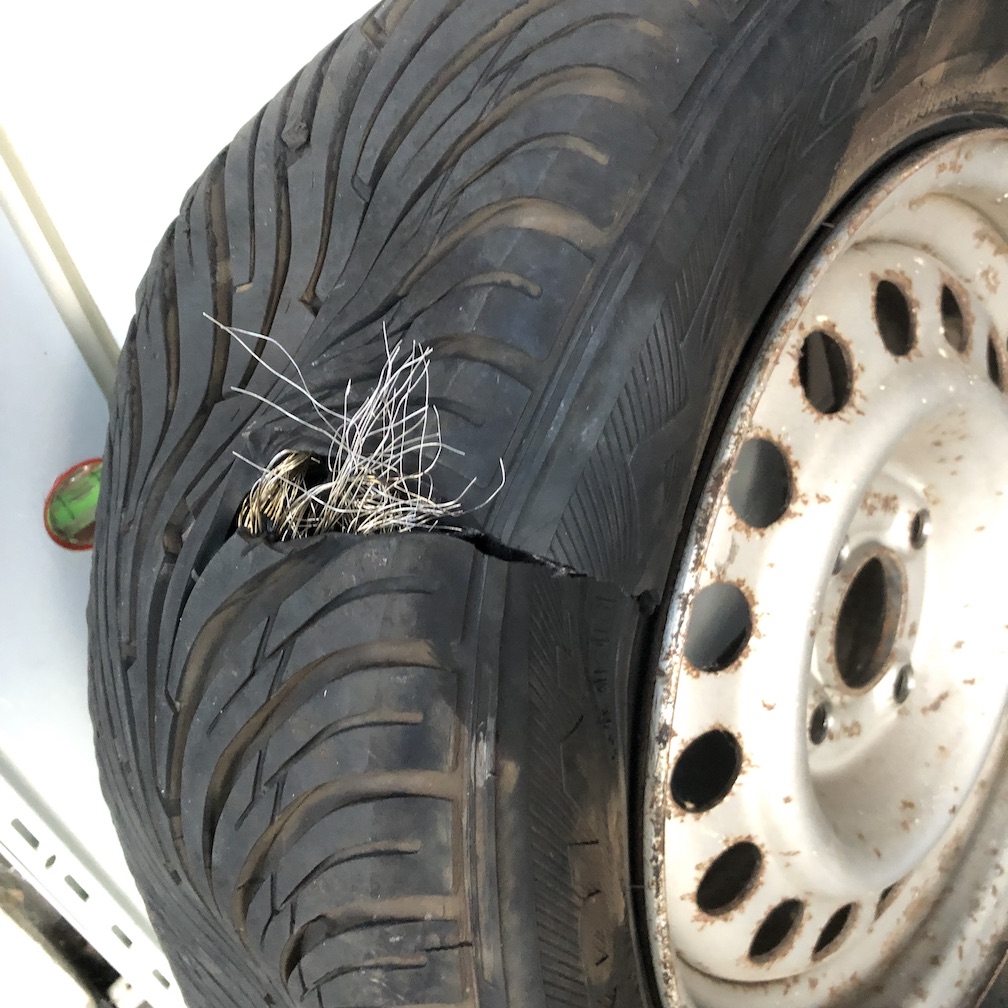
Scary moment My friend Wim Reynders had borrowed the caravan in the summer of 2022 and on his way back to my place, he experienced a bad puncture. He pulled over on the emergency hard shoulder of the highway and substituted the spare wheel with cars racing by, only inches from him. That was a very dangerous and scary situation. If a puncture ever happens to you: please continue to drive (slowly) until you find a suitable area where it's perfectly safe to change wheels. Do not worry about a destroyed rim, it's absolutely not worth to compromise your safety! Speaking about safety, I was unaware of the necessity for tyres with a higher load factor on caravans. The tyres had been renewed several years before, but their load factors were insufficient. I had presented the caravan at least a half a dozen times at the mandatory technical control (autokeuring) and the discrepancy was never spotted... Needless to say that the new tyres now have a load factor that largely surpass the requirement.
badly damaged tyre
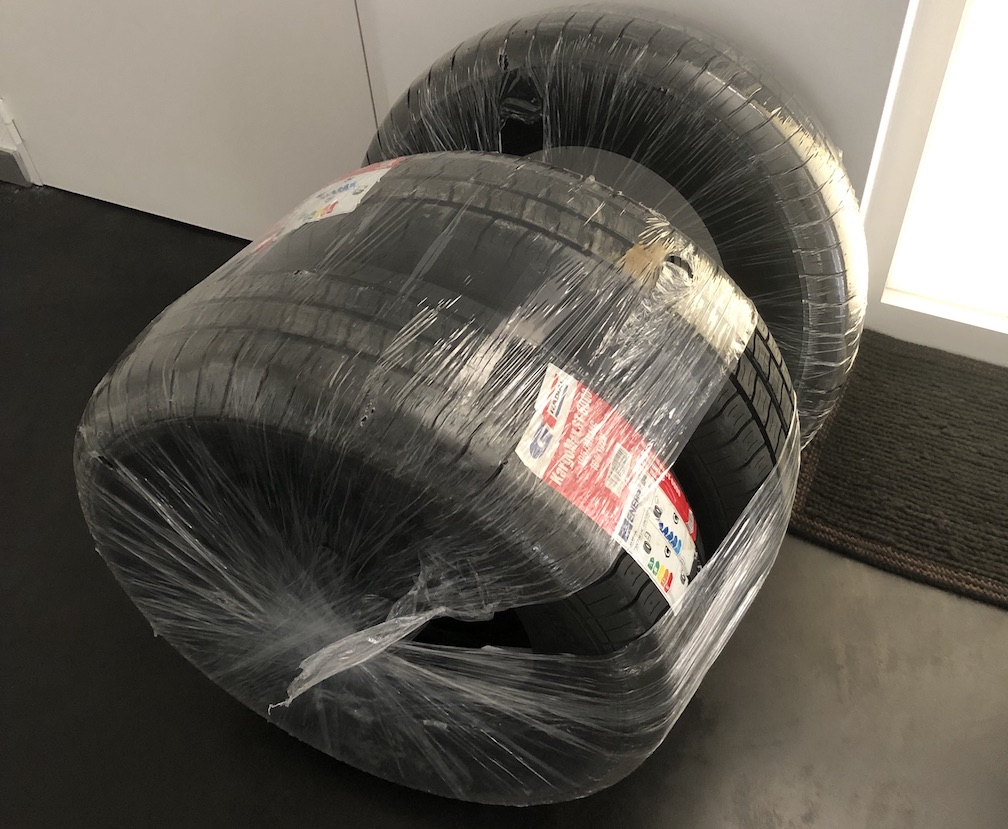
new tyres of the correct load factor have arrived (also one for the spare wheel)
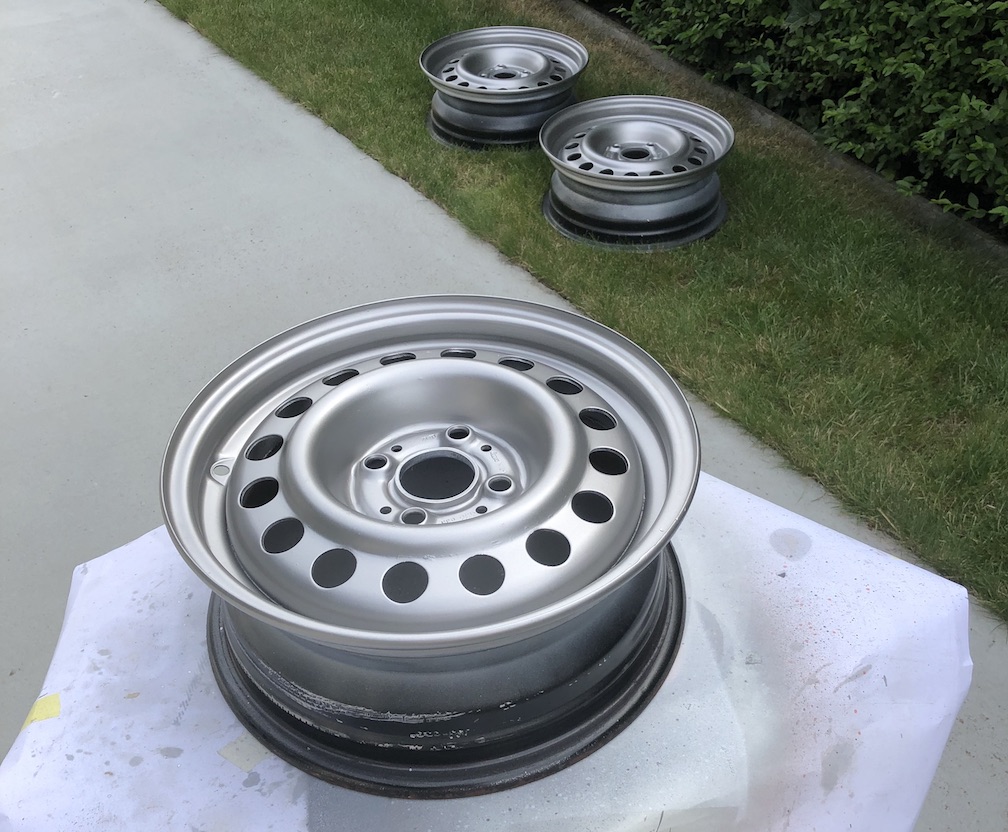
good opportunity to repaint the steel rims
And what about the costs? Total cost of the make over was approximately 5000 euro. This includes the new tyres, substitution of the canopy instead of the old poled awning, the six new combination blinds and the new simple blind, all RGB LED indirect lighting, the IKEA panels for the new cabinet doors, the new cushions, the new floor, the extra wall outlets, a lot of new hardware, and of course all the paints, brushes, rollers, masking tape etc. I'm very happy with this make over and it is worth every penny! |
|
|
|
Philip Avonds |
| Doornhofstraat 6 |
| B-8670 Koksijde |
| Belgium |
| e-mail: info@avonds.com |